SRB MIP Cable Build, Trying to do a "period correct" build..approx
1985
Jan 2016-March 2017
Grouping 2 SRB based Cable Kit
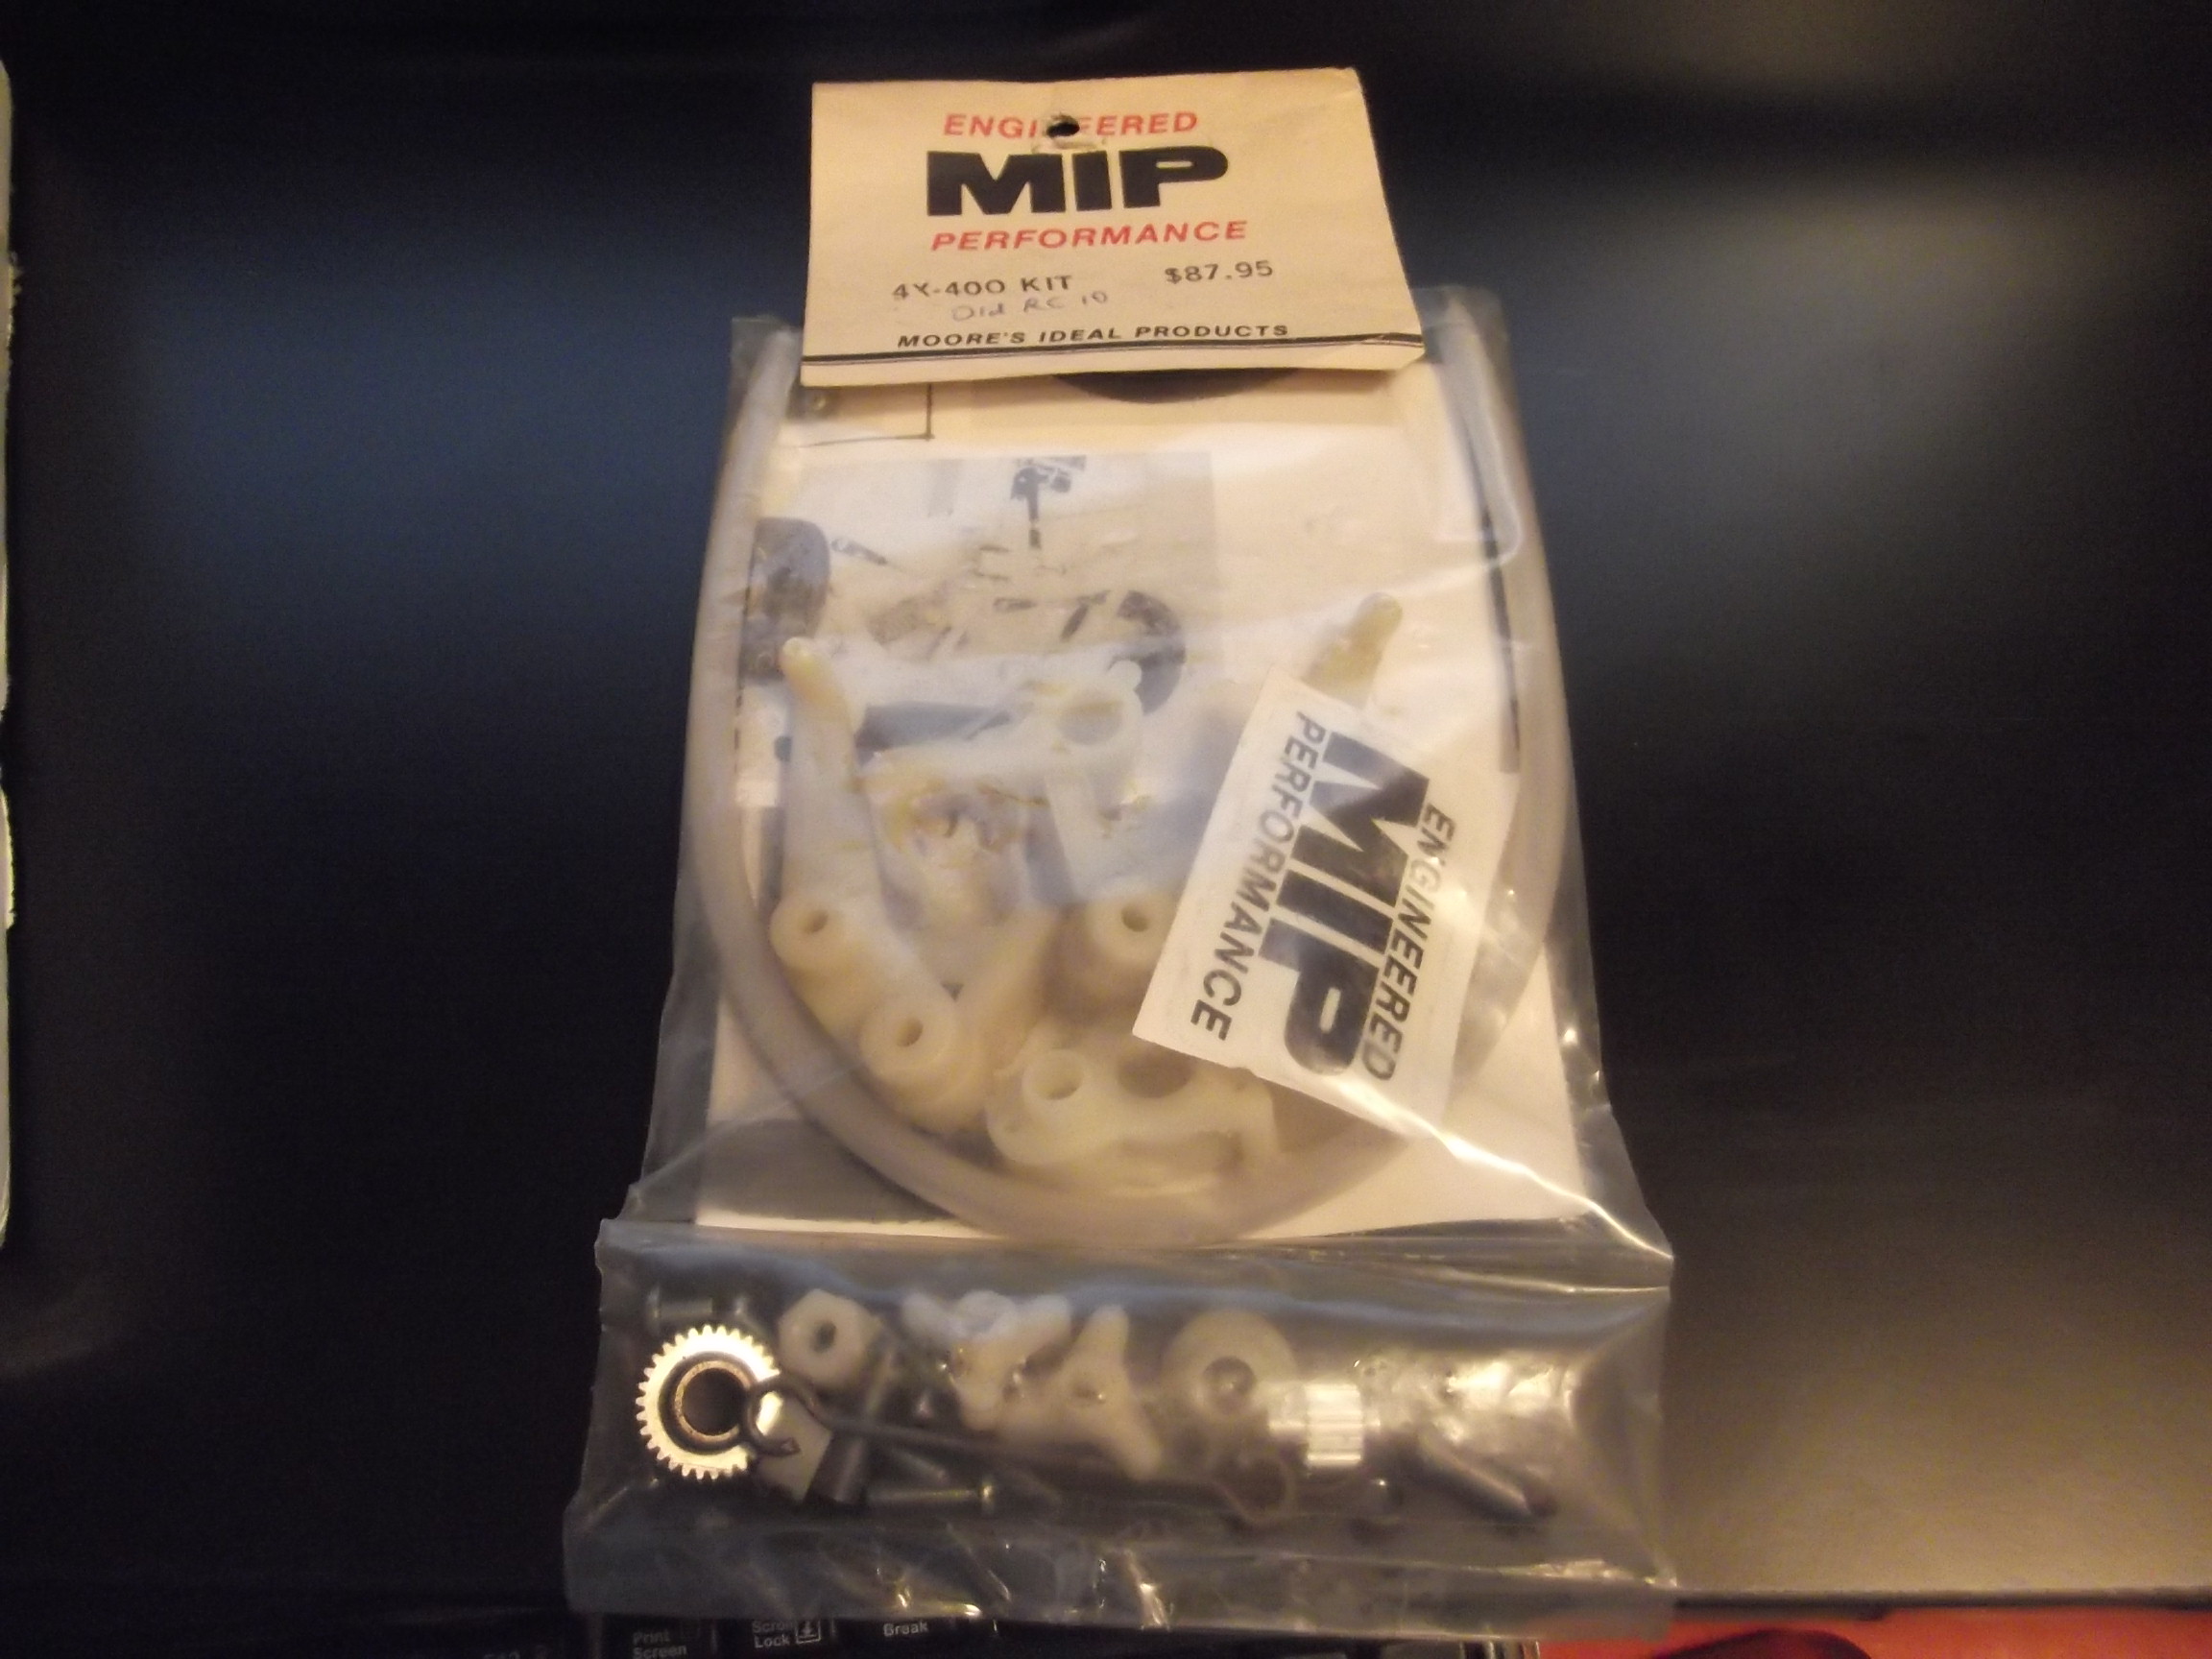
Using a 4 x400 Cable kit in sealed bag. In handwriting on the header card it says “for old RC10”, but it was for a stock SRB kit. It doesnt have the proper RC10 aluminum knuckles. It does have MIP shock towers.
Note: if the kit doesnt have the 2 aluminum C-hubs and does have the TX-400 front towers then you dont have all the necessary parts for the RC10, (you have parts for an SRB kit) but they can be found! The SRB 4x400 kit came with everything the Rc10 conversion has except it comes with the MIP TX-400 front shock towers for the SRB, which the RC10 conversion doesnt have. The RC10 conversion does comes with aluminum blocks which are needed to mount the X-11 spindles to an RC10. They look like C-hubs; there were 2 versions, earlier version are skinnier and then thicker ones later as the skinny ones probably got destroyed frequently on a hard hit. (JM) I dont think part numbers changed when they made them thicker.
(...there is a complete RC10 SP-2 4WD cable drive kit out there in collector world that was packed with the complete rear tranny for an rc10. Very Rare)
I started this build with this packet, despite being labelled "old rc10", its an SRB kit. It has the shock towers, it doesnt have the aluminum knuckles.
Even though the bag was sealed (especially the bottom section of the bag...it did not include the X-9 driveshaft (which replaces the top shaft in the stock transmission and accepts the bowden cable to drive the front tx) but it did have the gear retainer screw that holds the spur gear assembly on, it was also missing 3 x #2 x 5/8 screws to secure the fr tx case (it came w only 3 x #4 x 1/2) , missing 2 x #2 x 5/8 to mount tranny and 1 x #4 x 1/2 for front tower. Replacements found.
Instructions
page 1
Instructions page 2
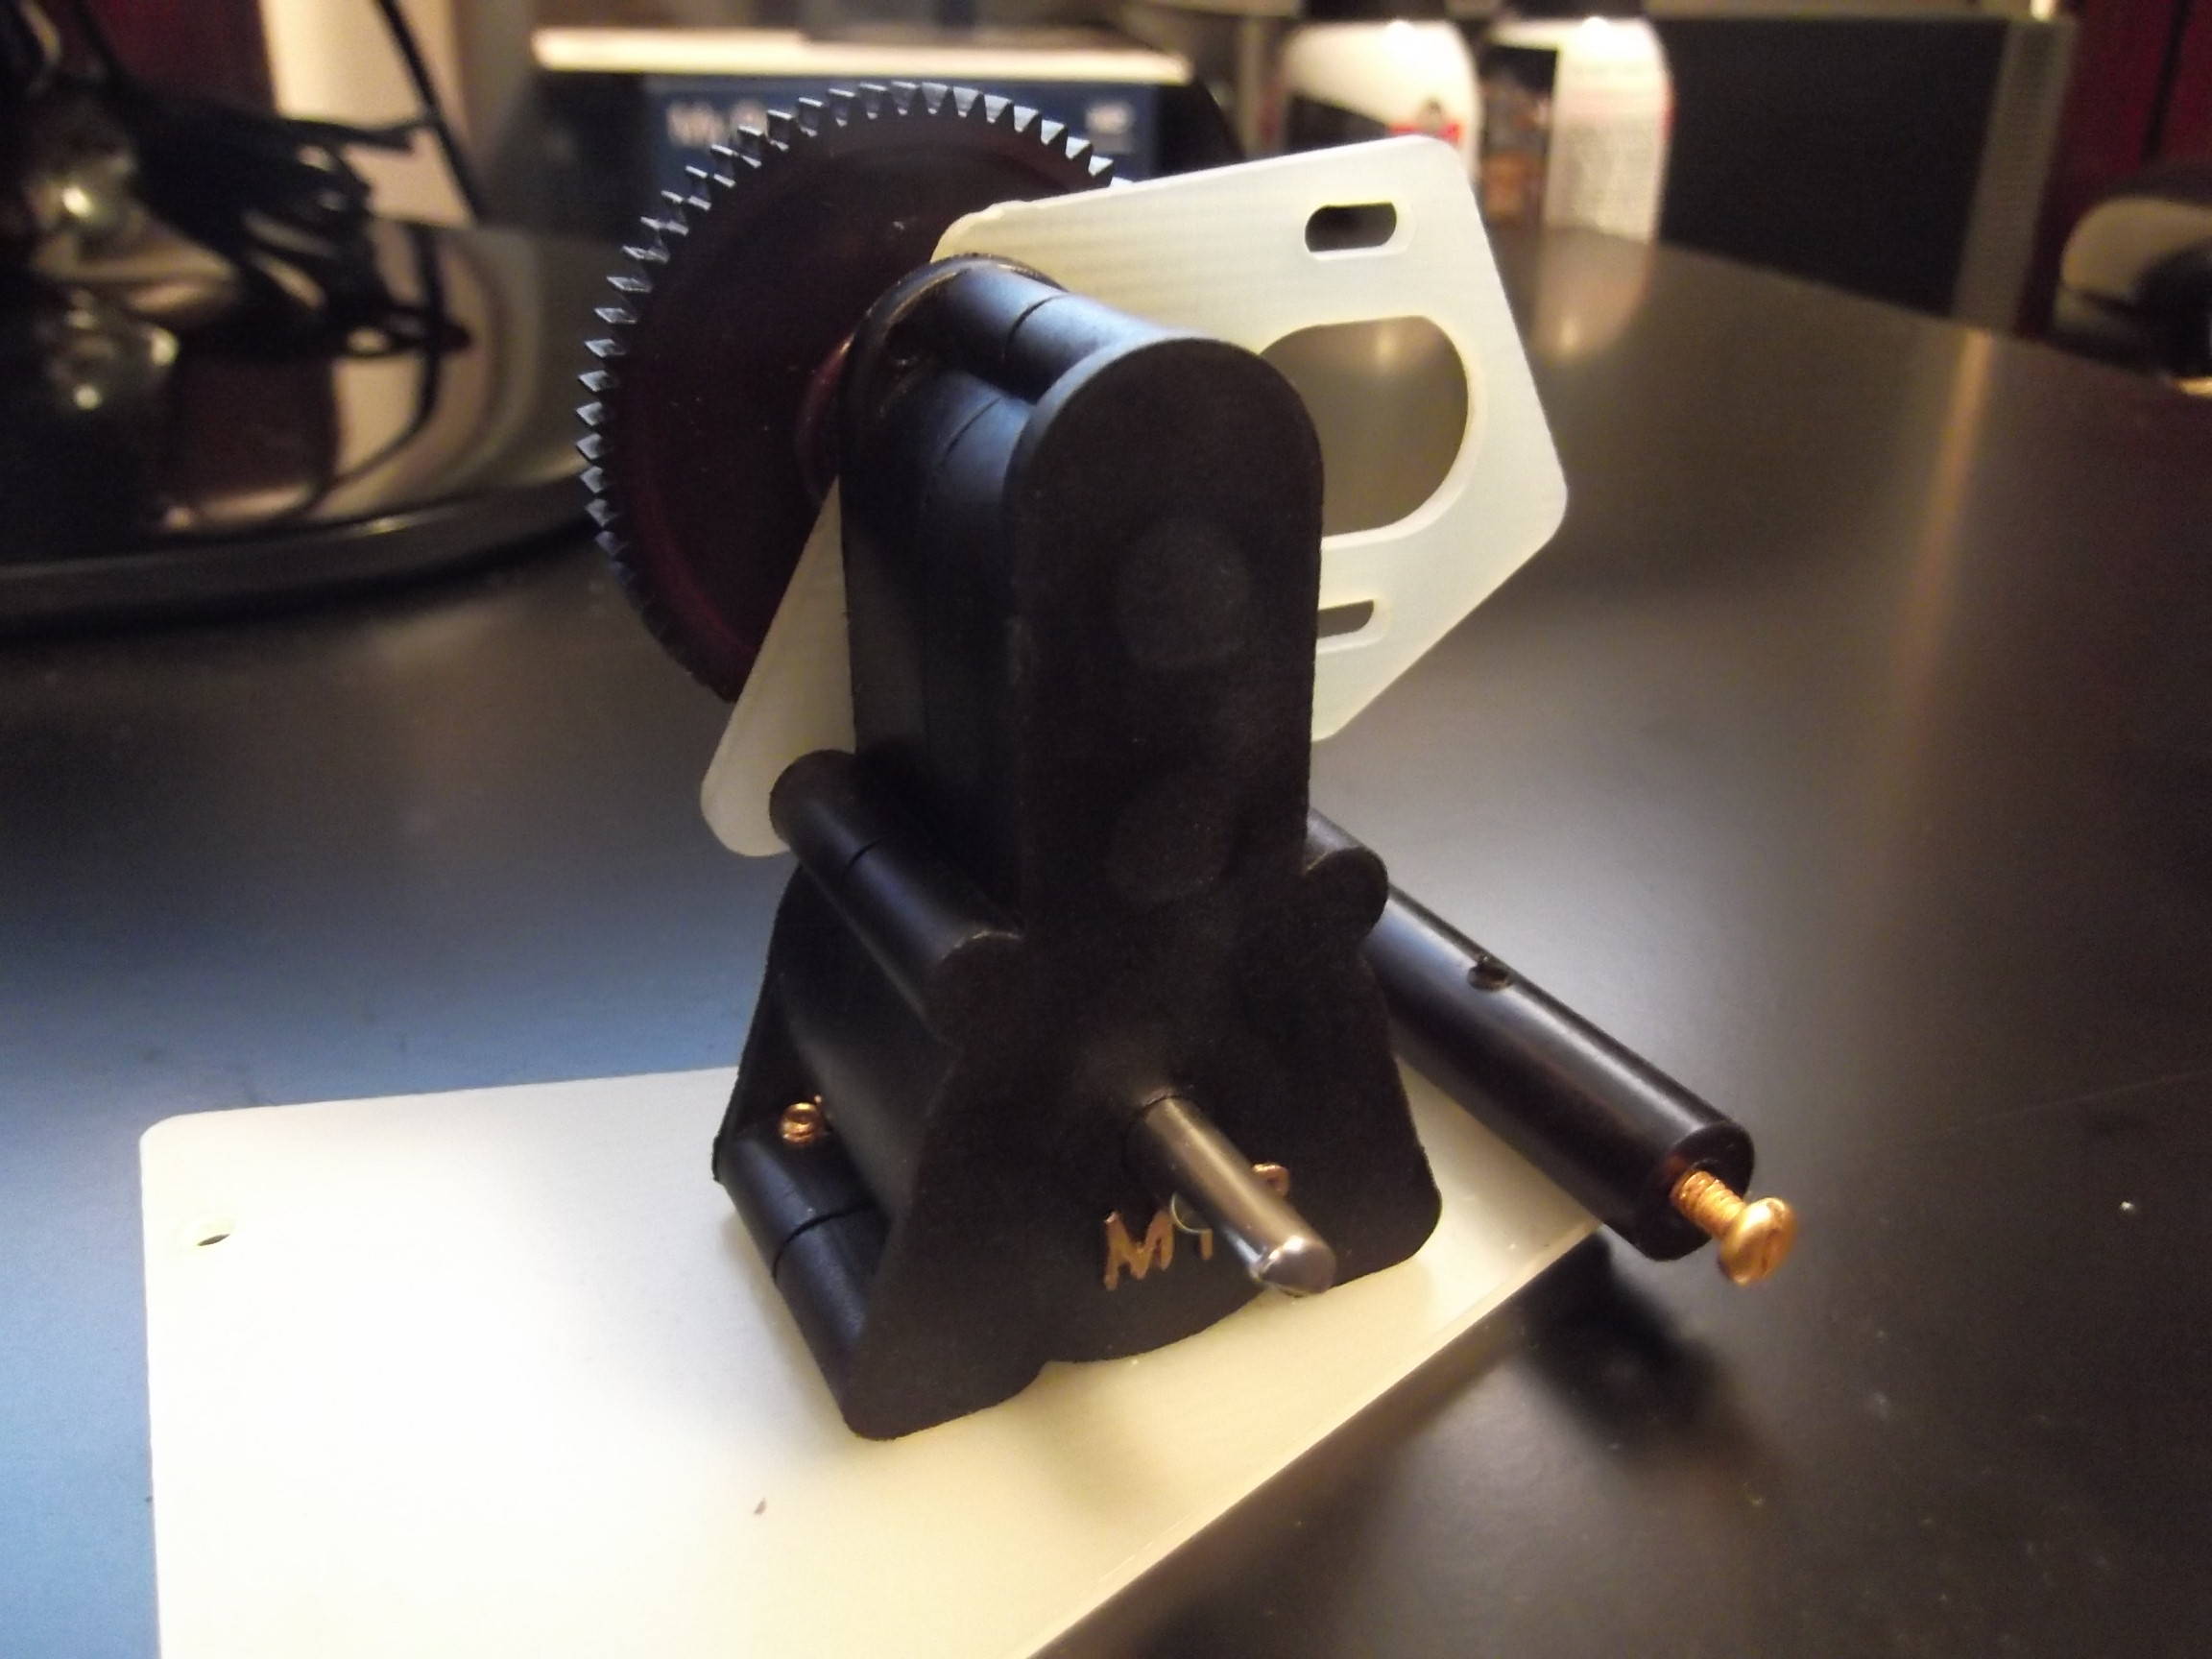
I have a T-200 rear SRB transmission (dyed black) built and mounted on fiberglass buggy plate that I can use with this build (got T-200 from JA 2006-8)

(March 2017: I'm still using this special gear case for this project, but swapped the inside main gear with a Thorp (?) ball diff I purchased in March 2016, tore down, cleaned and re-lubed--smooth)
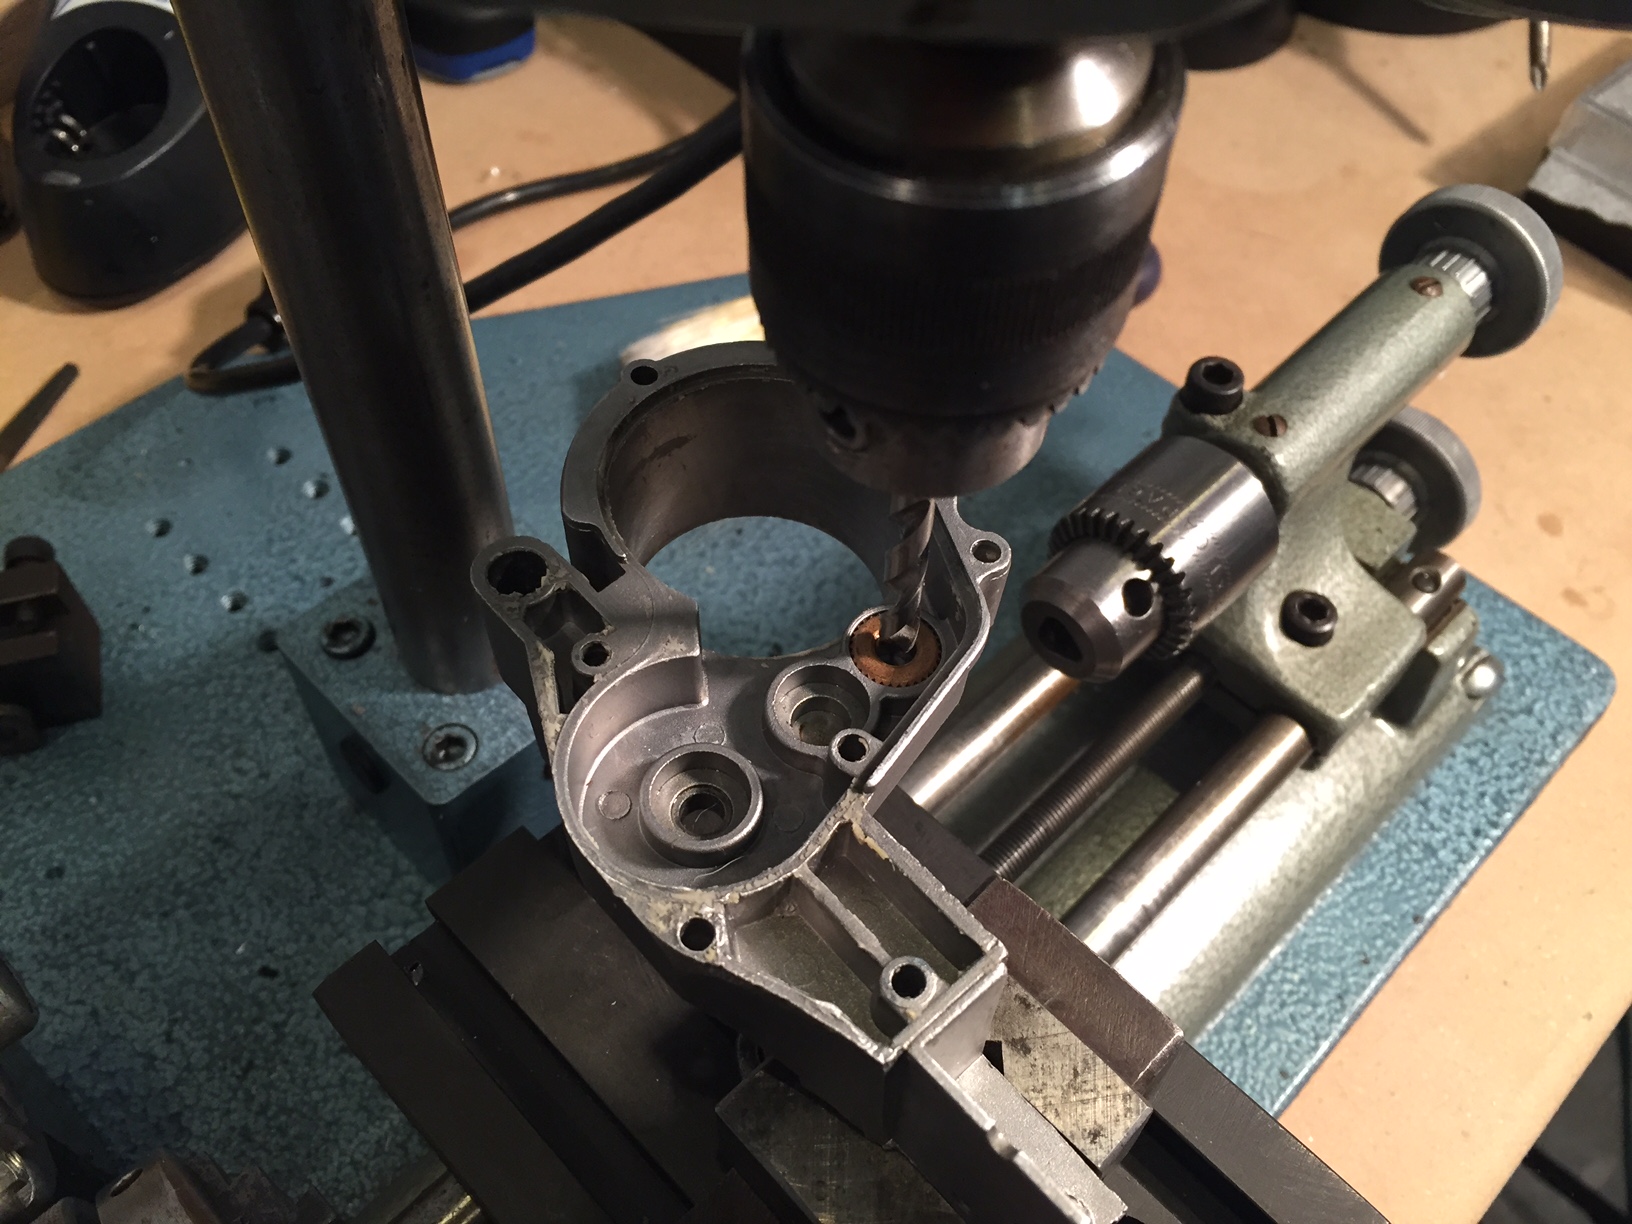
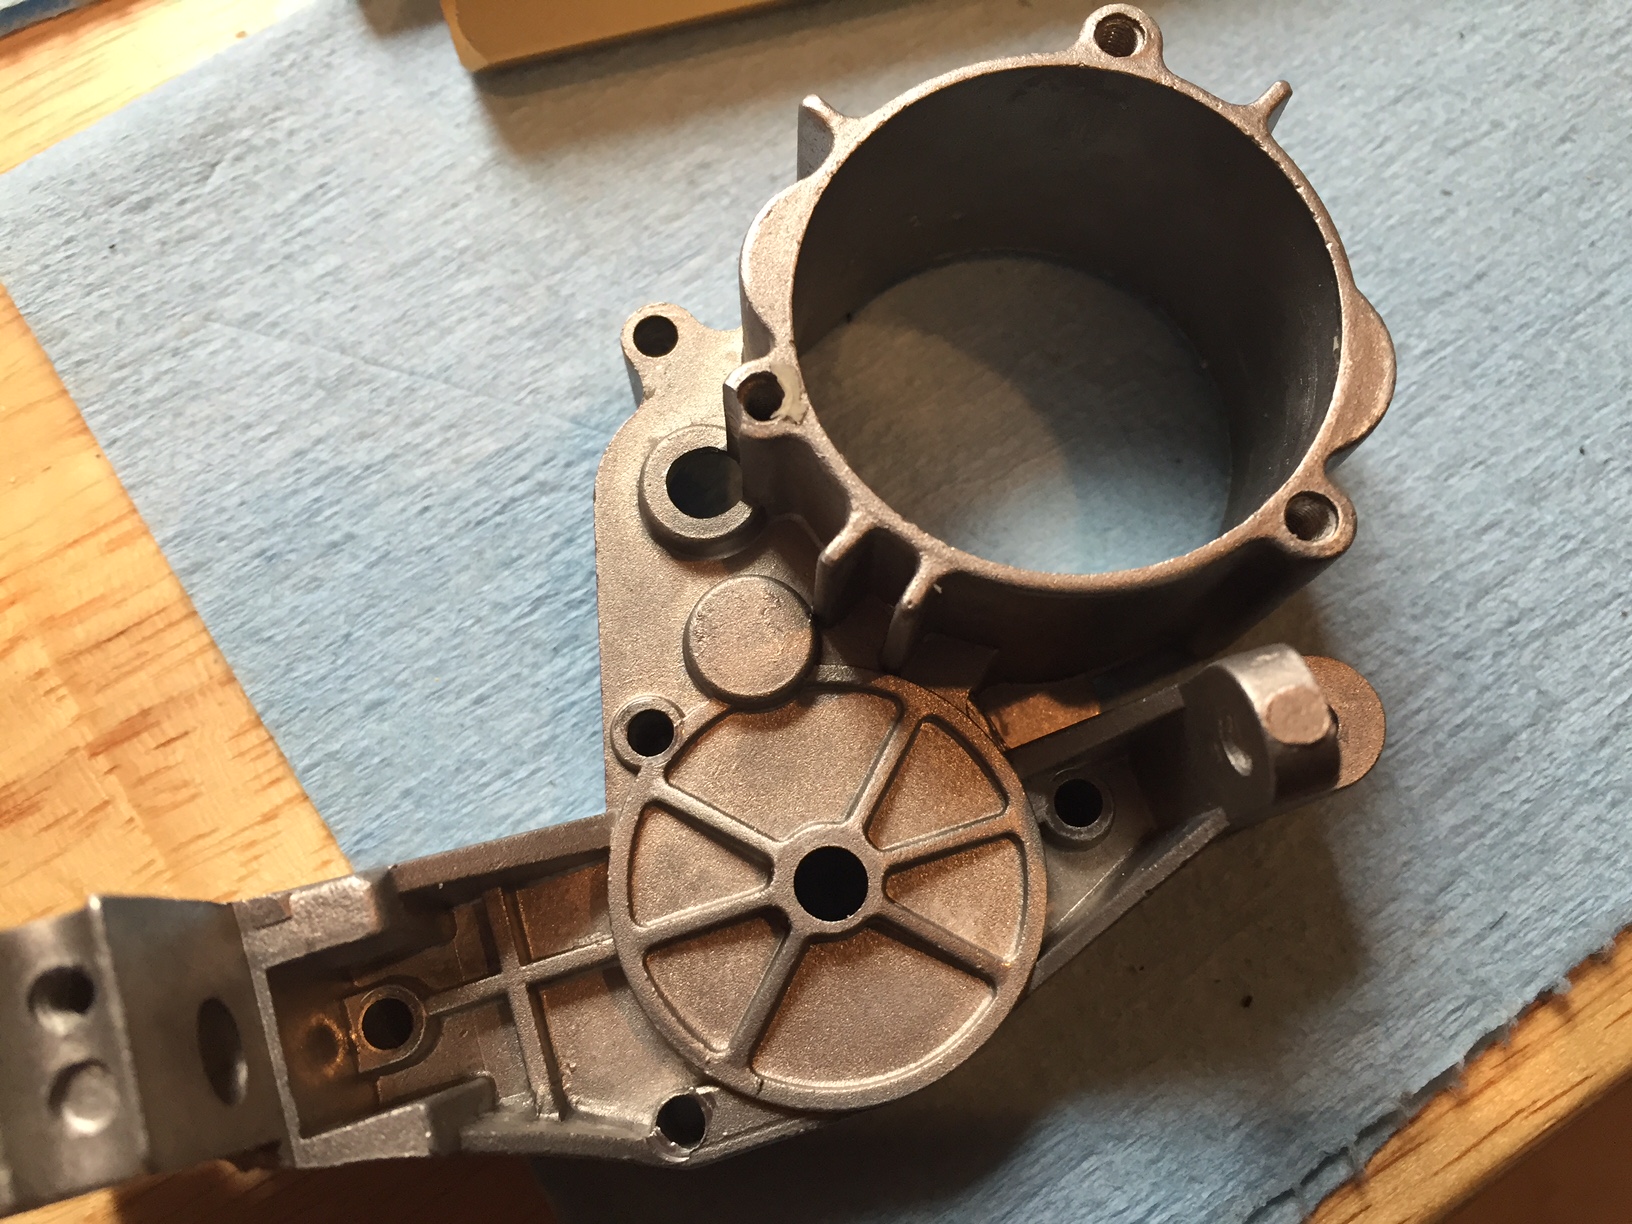
Just for fun while I was doing this build, I drilled out a stock SRB metal case, swapped the insides with better gears (have a couple of loose MIP diffs and gears could be B-200, C-200 (aluminum gears). (There is a CS200 Super Stock "gears only" set and D-200 Hardened Outdrives) and run the cable into that and can use a stock rear tx set up like this example I found:

I drilled into a rear case, through a bearing as a guide, and further milled along the case for appearance, ordered slightly smaller PTFE teflon sleeve, can use an extra MIP bowden cable from spare parts I had. Always happy to use my Unimat.
Note re: MIP diffs for bottom gear; the shafts for the outdrive on the LATER MIP diff are not
wide enough to use in SRB case, the ones in SRB case need to be about 20mm wide
each side, but MIP case only needs 11mm each side.
(Tamiya made a diff gear
for re-re SRB buggies 2015?)
March 2017: I have the transmission guts for this set up working OK, but will have to wait until I find the rest of an SRB project w/ MIP 4x stuff to finish (front tx case, front wheels set up)...I want the "traditional" version first! Also, though I have a passable solution for the missing X-9 top shaft (an SP50 that I drilled the end of the shaft to accept the cable) that accomodates the Bowden cable, I would prefer a better solution and note that I've slightly unravelled one end of the cable by press fitting too many times ("round peg-square hole" or really round hole -square peg).
How to (try to) make an x-9 drive shaft for rear tx: use the stock SRB top drive gear and drill a hole in the cable end, file inside the hole by hand to fit square, can also do same w Thorp or MIP top gear.
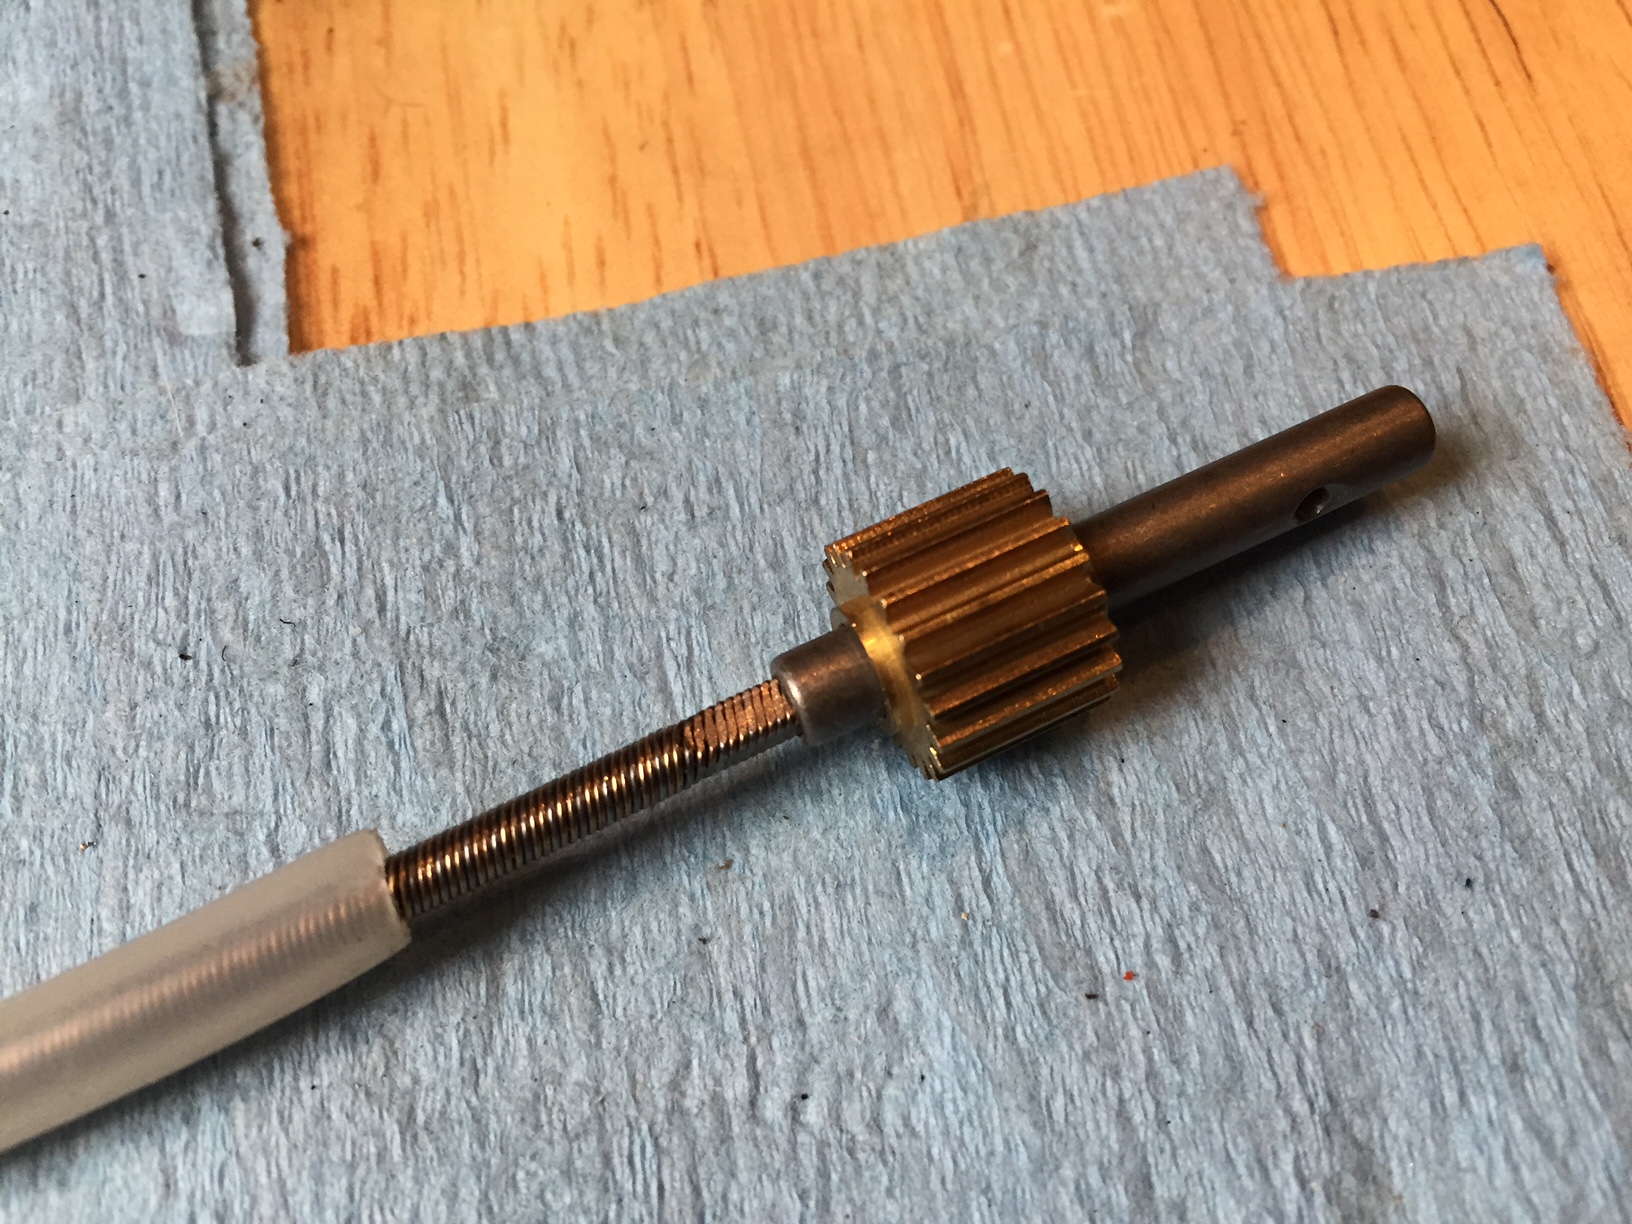

(and here are repro dimensions)
Interlude: Ball diffs:
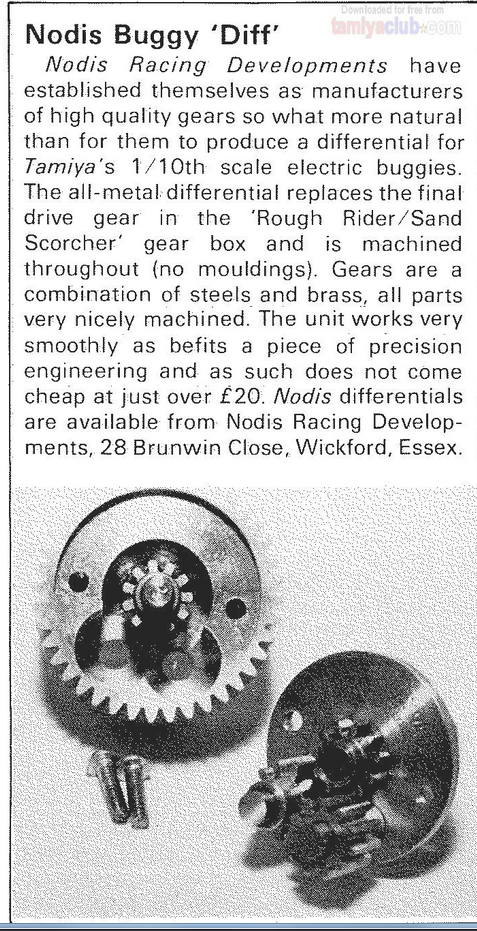
One of a few vintage Buggy diffs (Nodis, Thorp, of course MIP)
One nice set of kit to try to find are rear half shaft flexi-drive outdrives, these were included with the IRS-100 or 200 SRB Trailing Arm kit, and makes it easy to use the T-200 as direct fit bolt on.
(find pic)
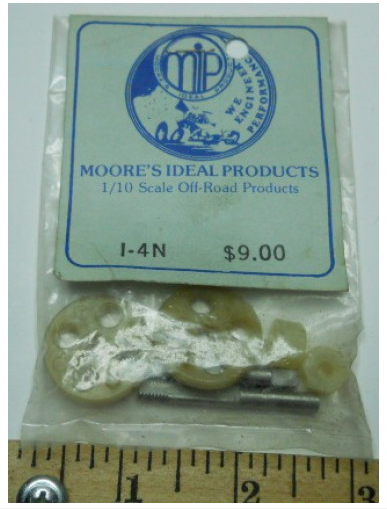
Looking for this set of parts too: (half shaft set up or the rest of the parts in I-4N) to use the proper rear axles with flats that come with the IRS-200
Not sure how using the T200 without the IRS kit allows
the cage and the stock rear arms to securely mount to chassis, seems fragile.
^^ problem solved by using the MIP 4x chassis!
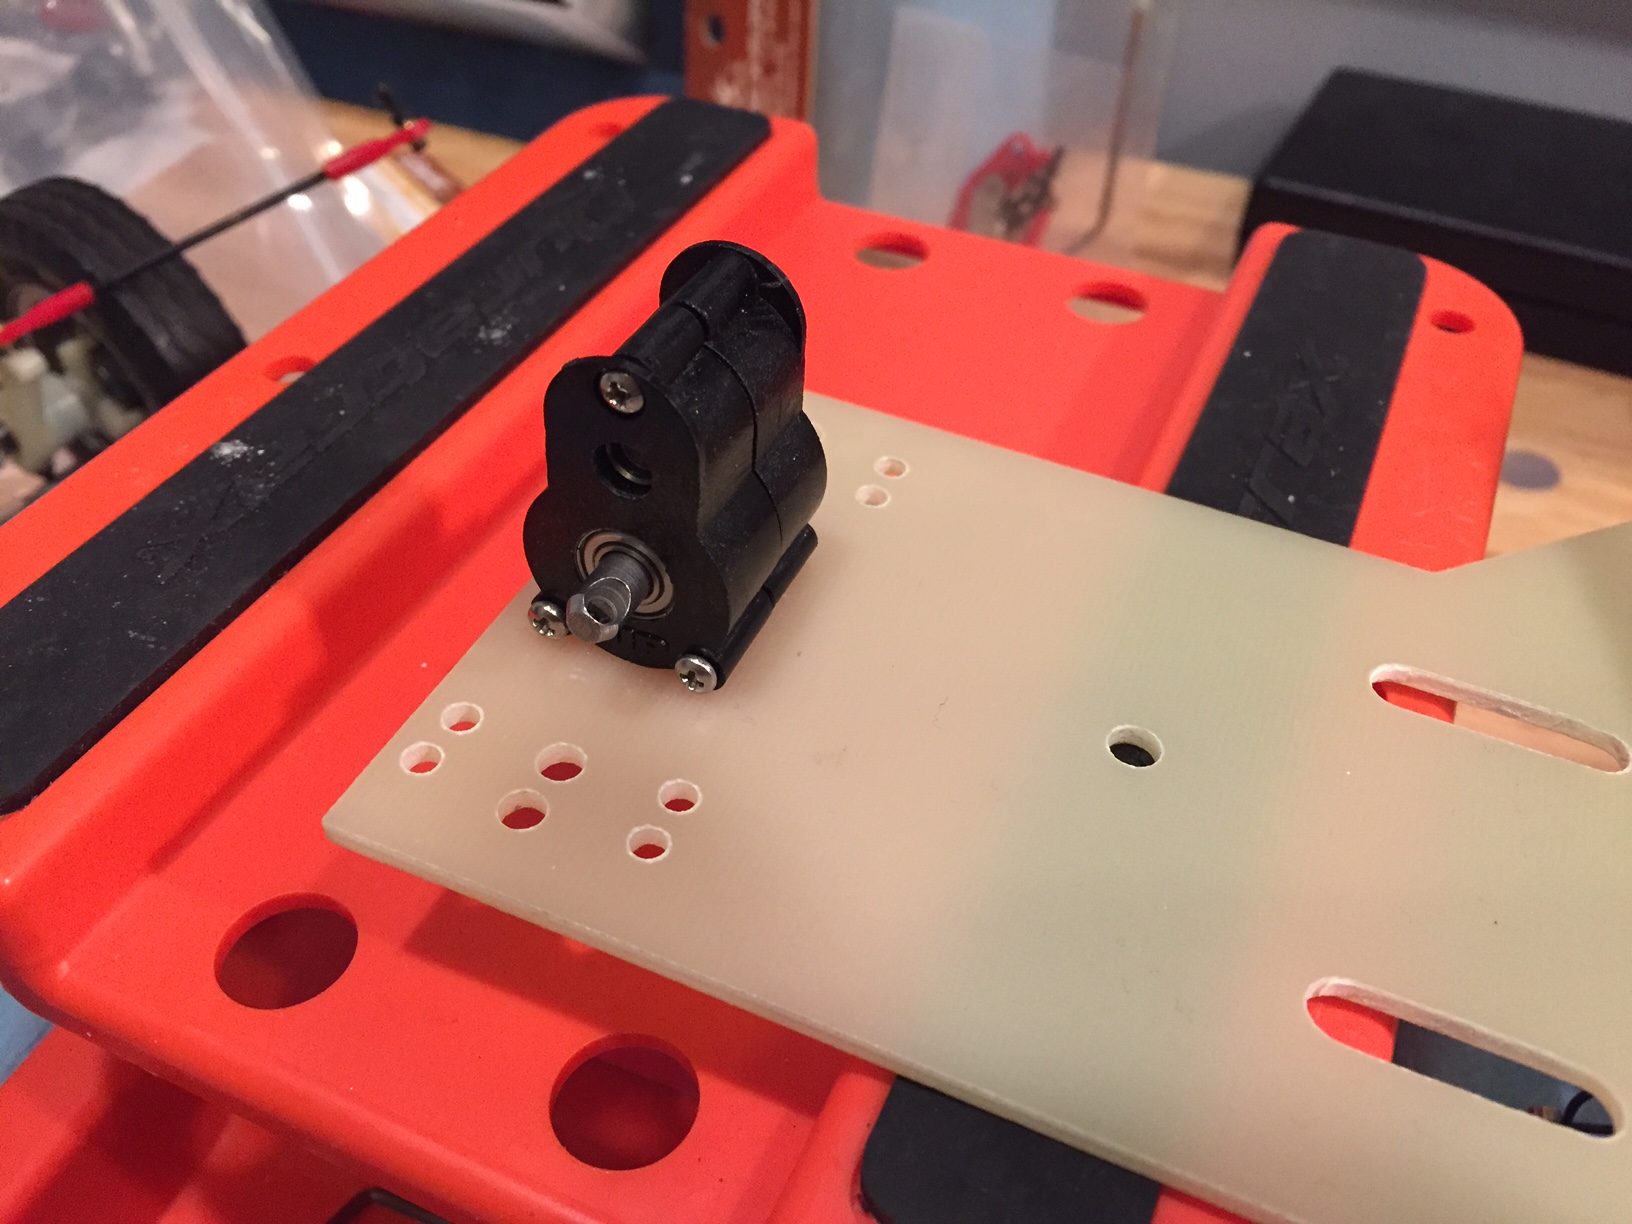
Also, I will need to drill my MIP rear case for the top shaft that holds the cable.
did that ^^ and also tapped/drilled for using 2mm screws to affix the small cable guide to the top hole. Semi-permanent.
T-200 tranny should have both mounting lugs on the bottom of it (symetrical
front and rear). (Check!)
When used on an rc10 one side of the lugs needs to be removed
to allow the tranny to be tilted in the position where it would mount to the
RC10 motor plate (i.e like the version mounted to the Hot Trick motor mount).
Shave them down with a dremel or file.
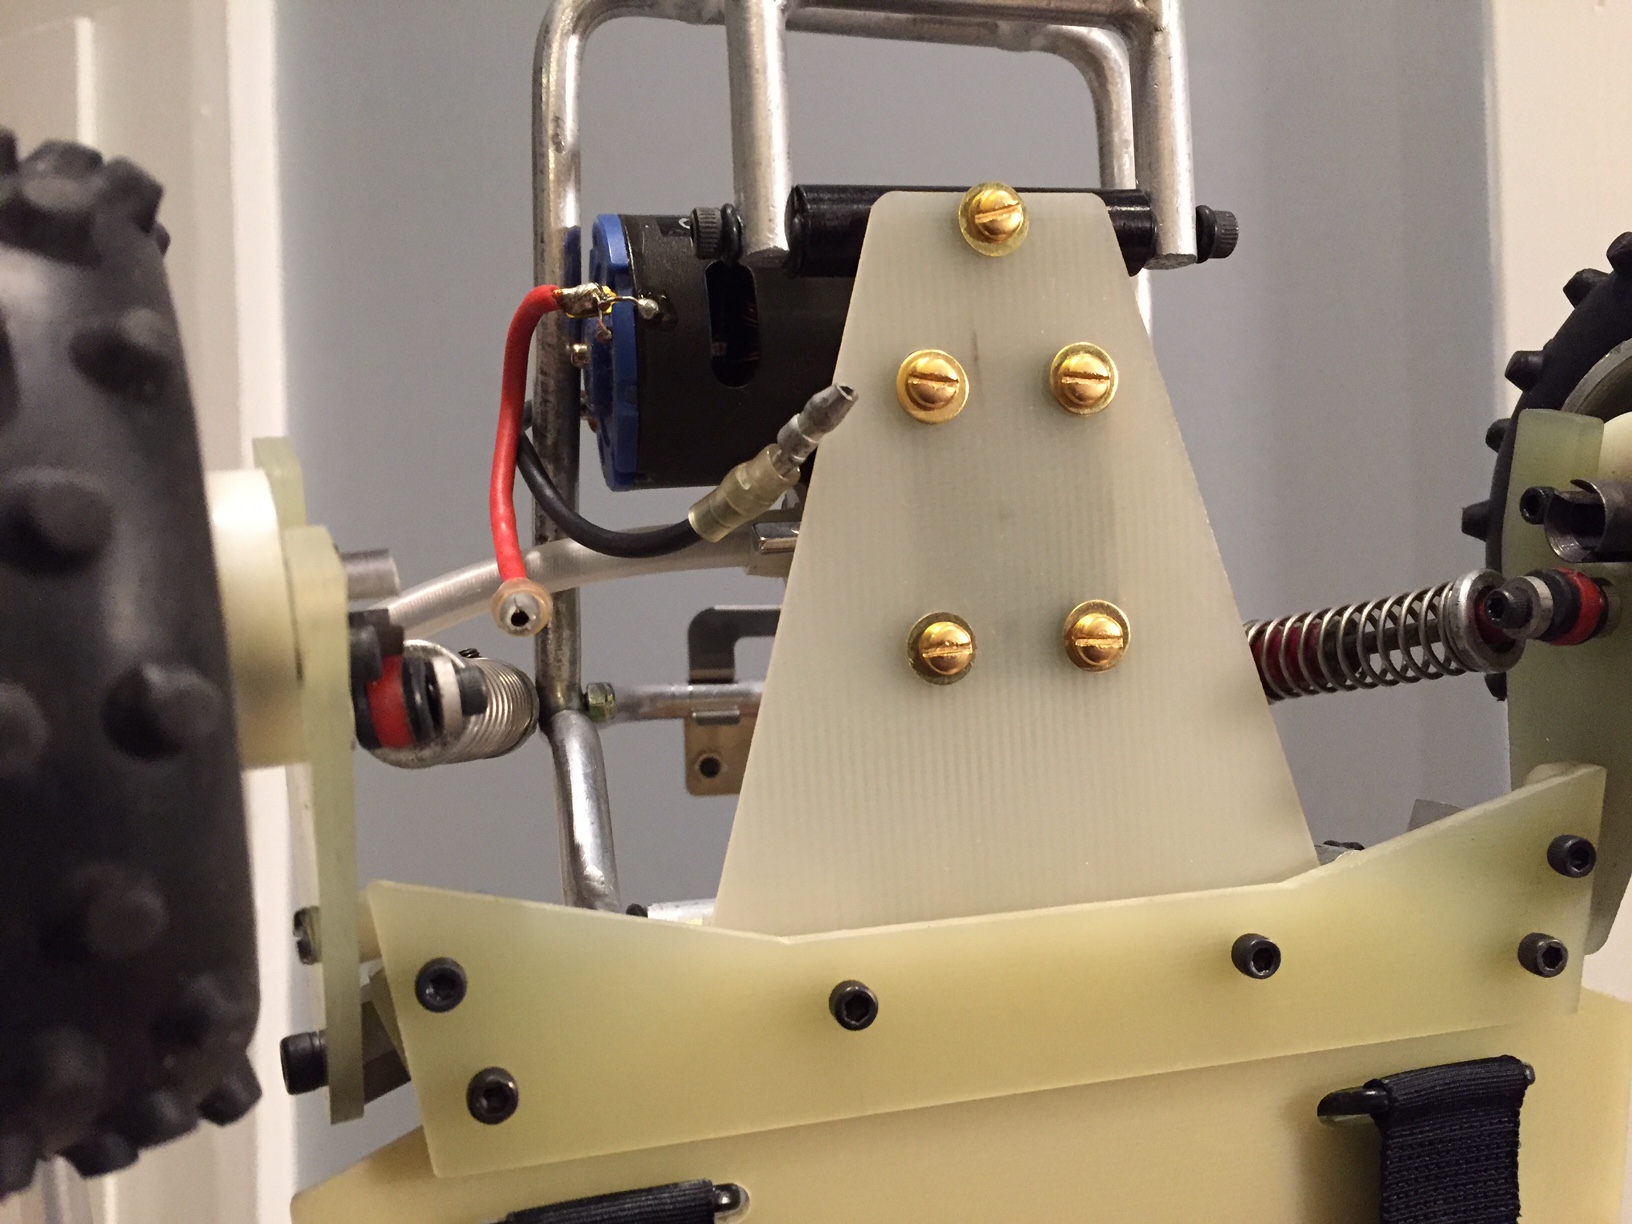
The fiberglass plate is the adapter plate used to mount that tranny to the SRB if using a CRP Butterfly chassis. (Triangular). The MIP parts include a little white plastic tube with it to be mounted to the triangular plate through one hole ... its for holding the rear cage of a SRB to screw into.
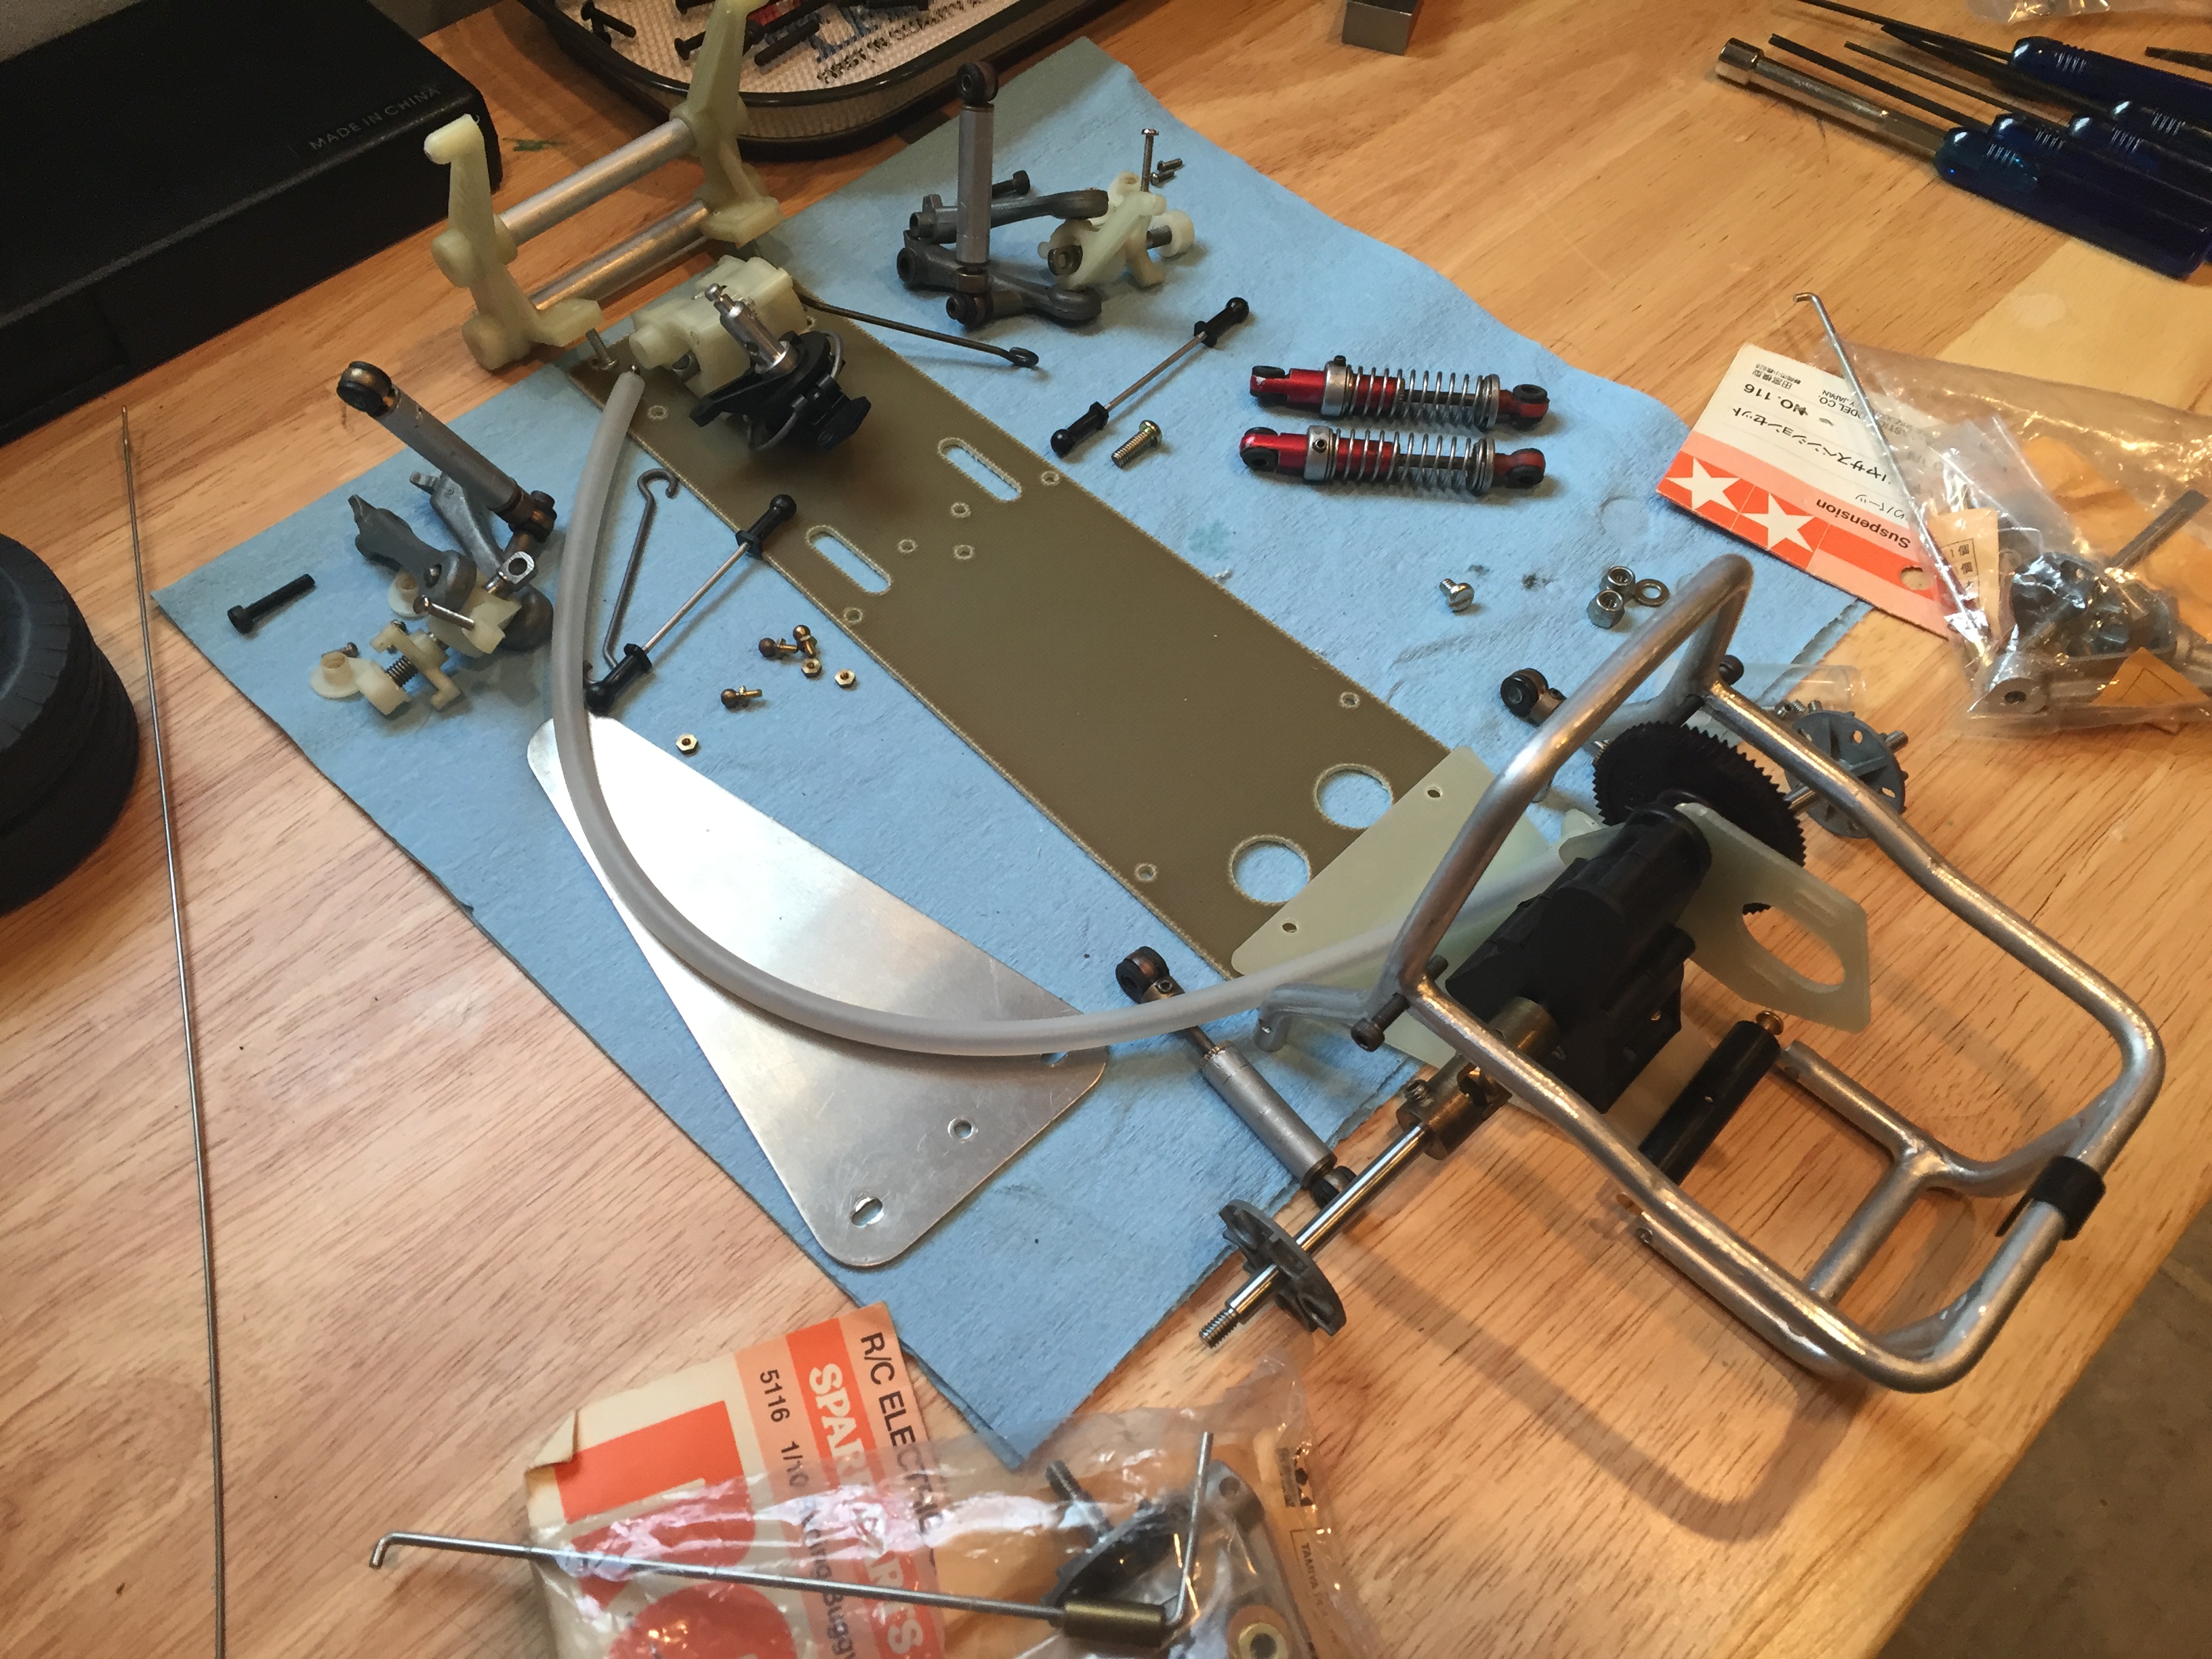
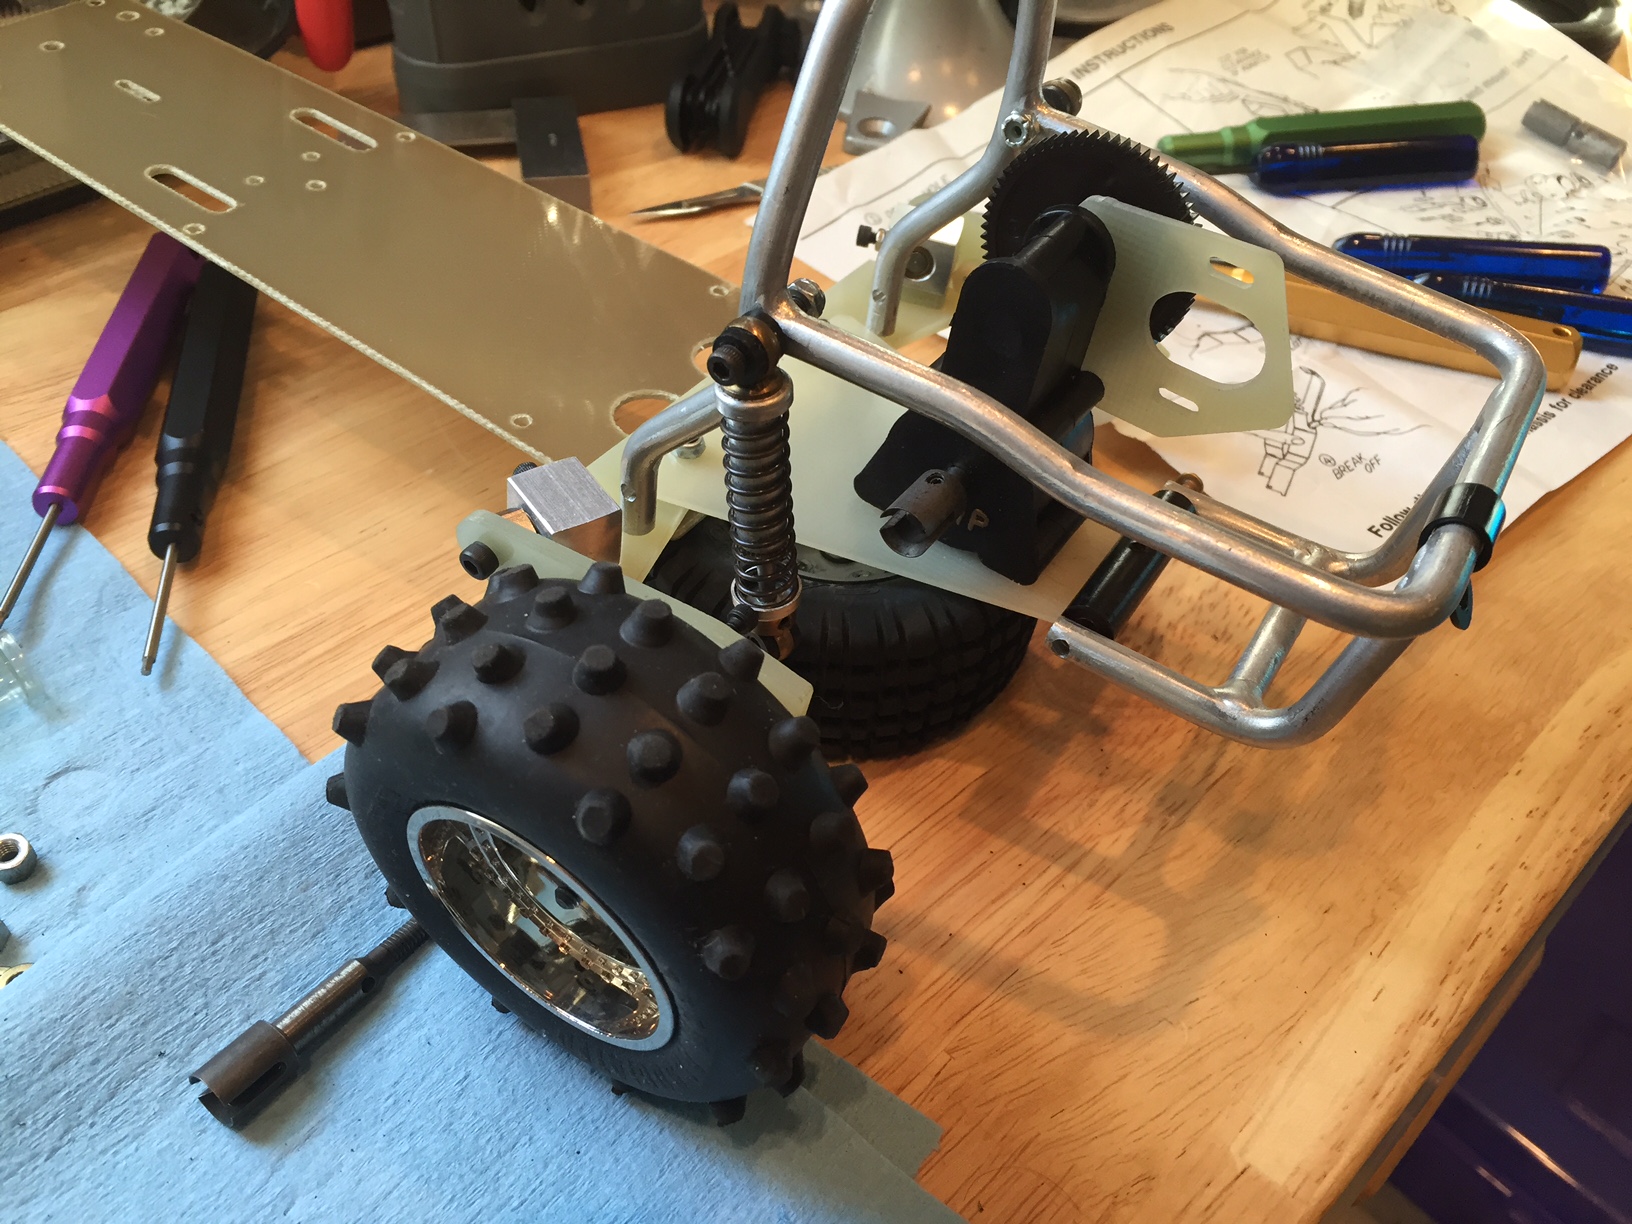
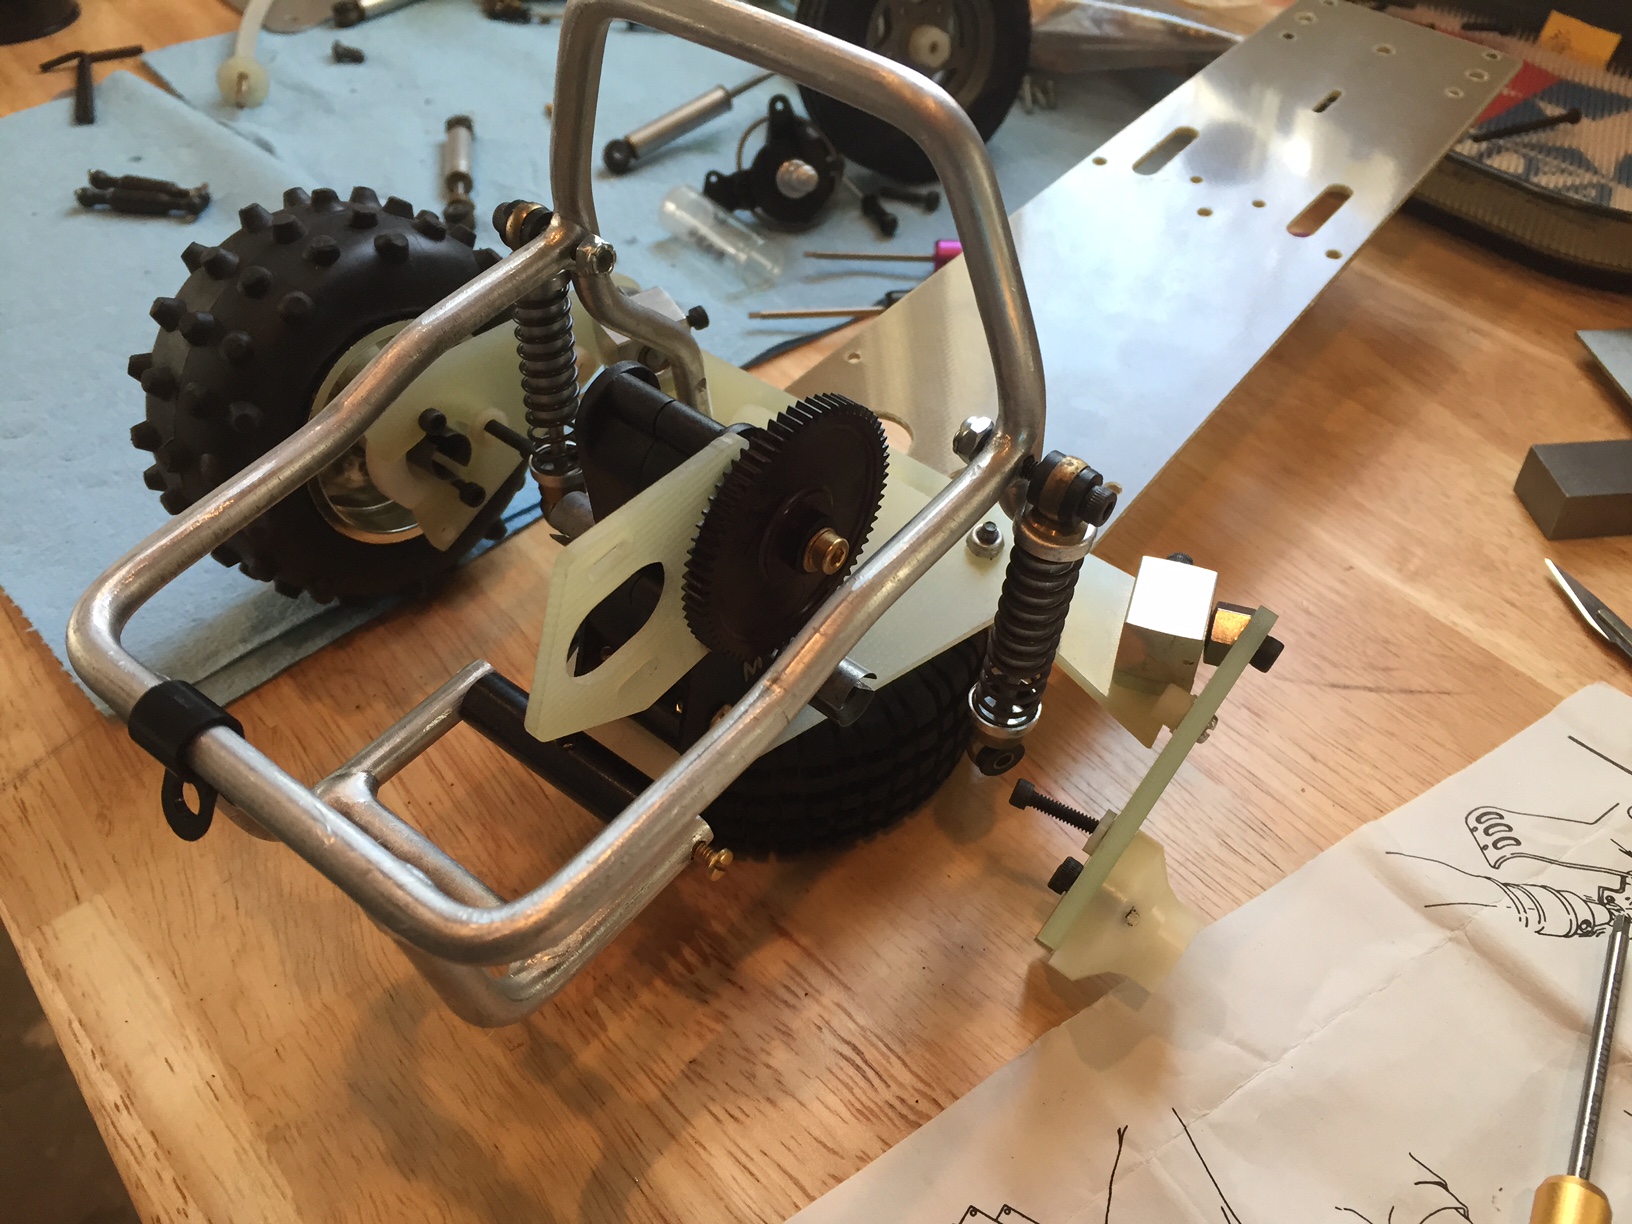
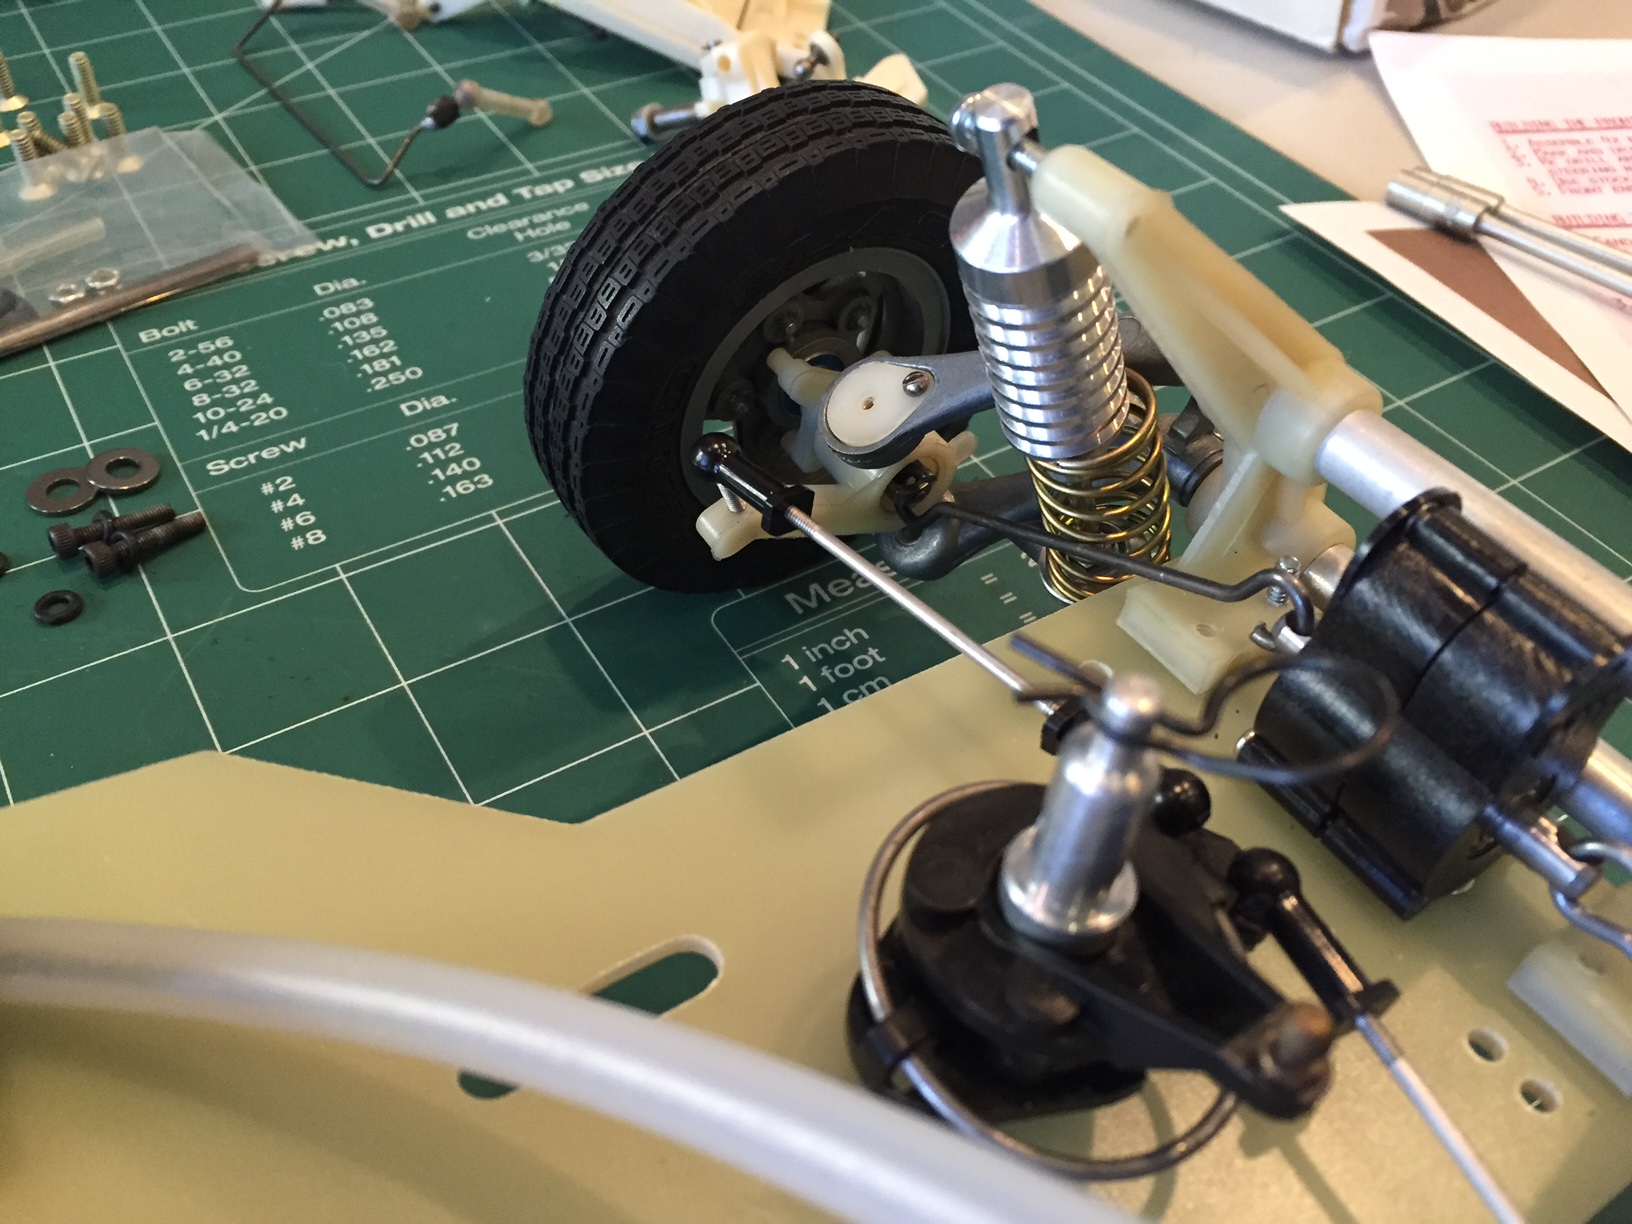
Jan 28, 2016 "Dry-fit" layout: some choices to be made...
To do and notes:
(note for later, there are two width pacements possible with the front end. The butterfly is set narrower than the 4X chassis (hard to find, thank you GMV for the repro) is a little wider. Not interchangeable.
Because using RC10 Trailing arm kit not the SRB version, and I don't have the
flexi-half shafts, I need a workable dogbone set up with MIP outdrives on the rear tx,
connected to bones (about 45mm wide), connected to RC10 axle in the bearing
carrier that I'm using with the IRS kit.
This thread explains the differences between the SRB and the RC10 trailing arm
kits...http://www.rc10talk.com/viewtopic.php?f=35&t=34011
Here are IRS10 suspension kit early version instructions for RC10
dated 12/1986 : http://www.rc10talk.com/viewtopic.php?f=82&t=28429
SRB MIP Cable conversion would have had to use TA rears because the IRS kit I have for this is the Team Associated version. I wanted SRB wheels and tires so instead, I drilled out SRB wheels to fit the IRS TA spacing, and used the MIP three point "wheel locks" from an other IRS kit (or spare parts I had) so I could use SRB wheels all around.
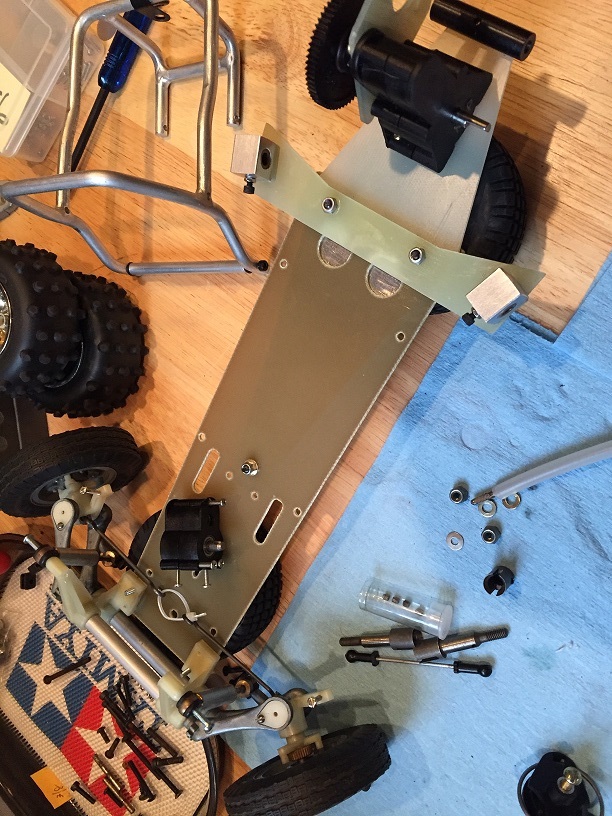
Feb 3, 2016, added the trailing arm kit, test fit, note the TA wheels and the AYK shocks, both changed
Feb 9th 2016, what's left:
find body rough rider style
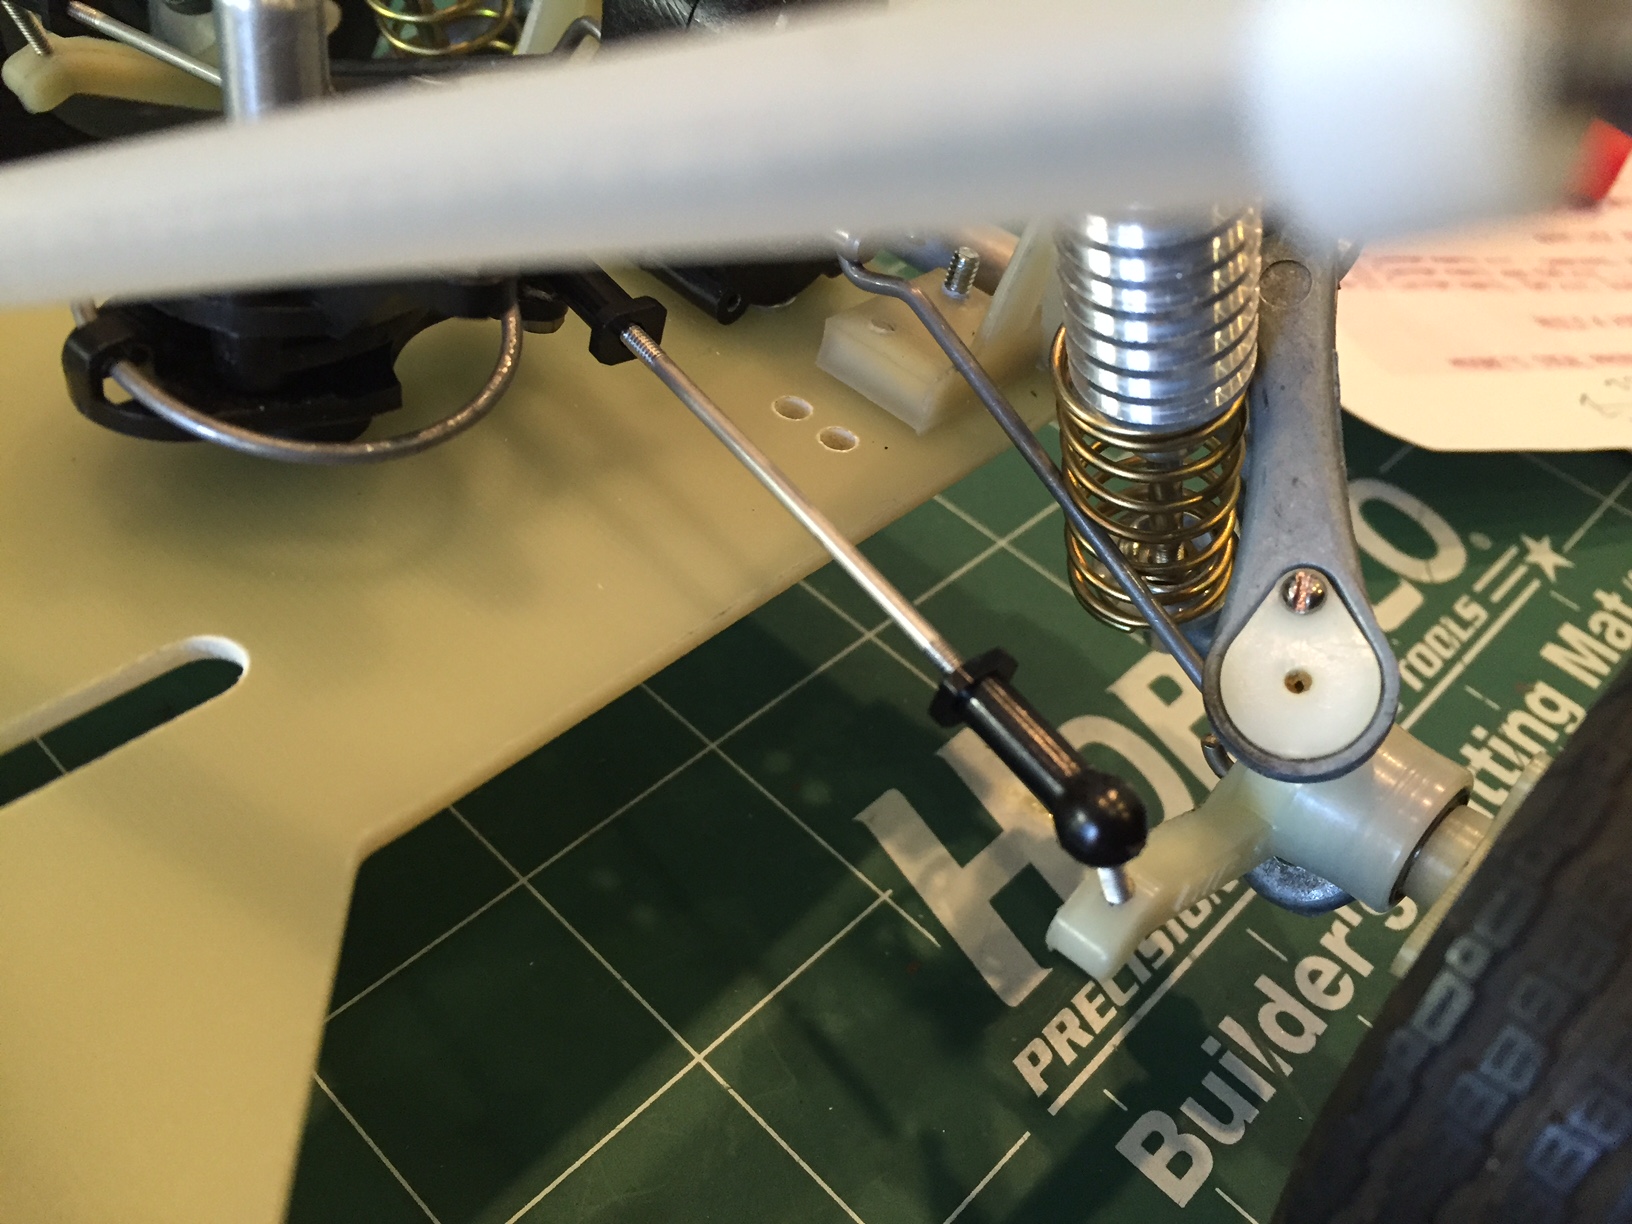
test fit servo saver and fashion link arms w ball ends not ball cups
AYK shocks dry fit
drill holes in SRB chassis for fr tx case and servo saver if needed
drill holes into chassis (rear cross piece) to secure roll cage
find proper dogbones for rear, AYK are 41mm, need
about 45 (try Kyosho 92387)
check and confirm all hardware secure, (swap brass screws for metal screws on
case)
find smaller period correct, Novak servo
add period rcvr and speed control (check mount positions)
add motor and test
add fr SRB bumper for now
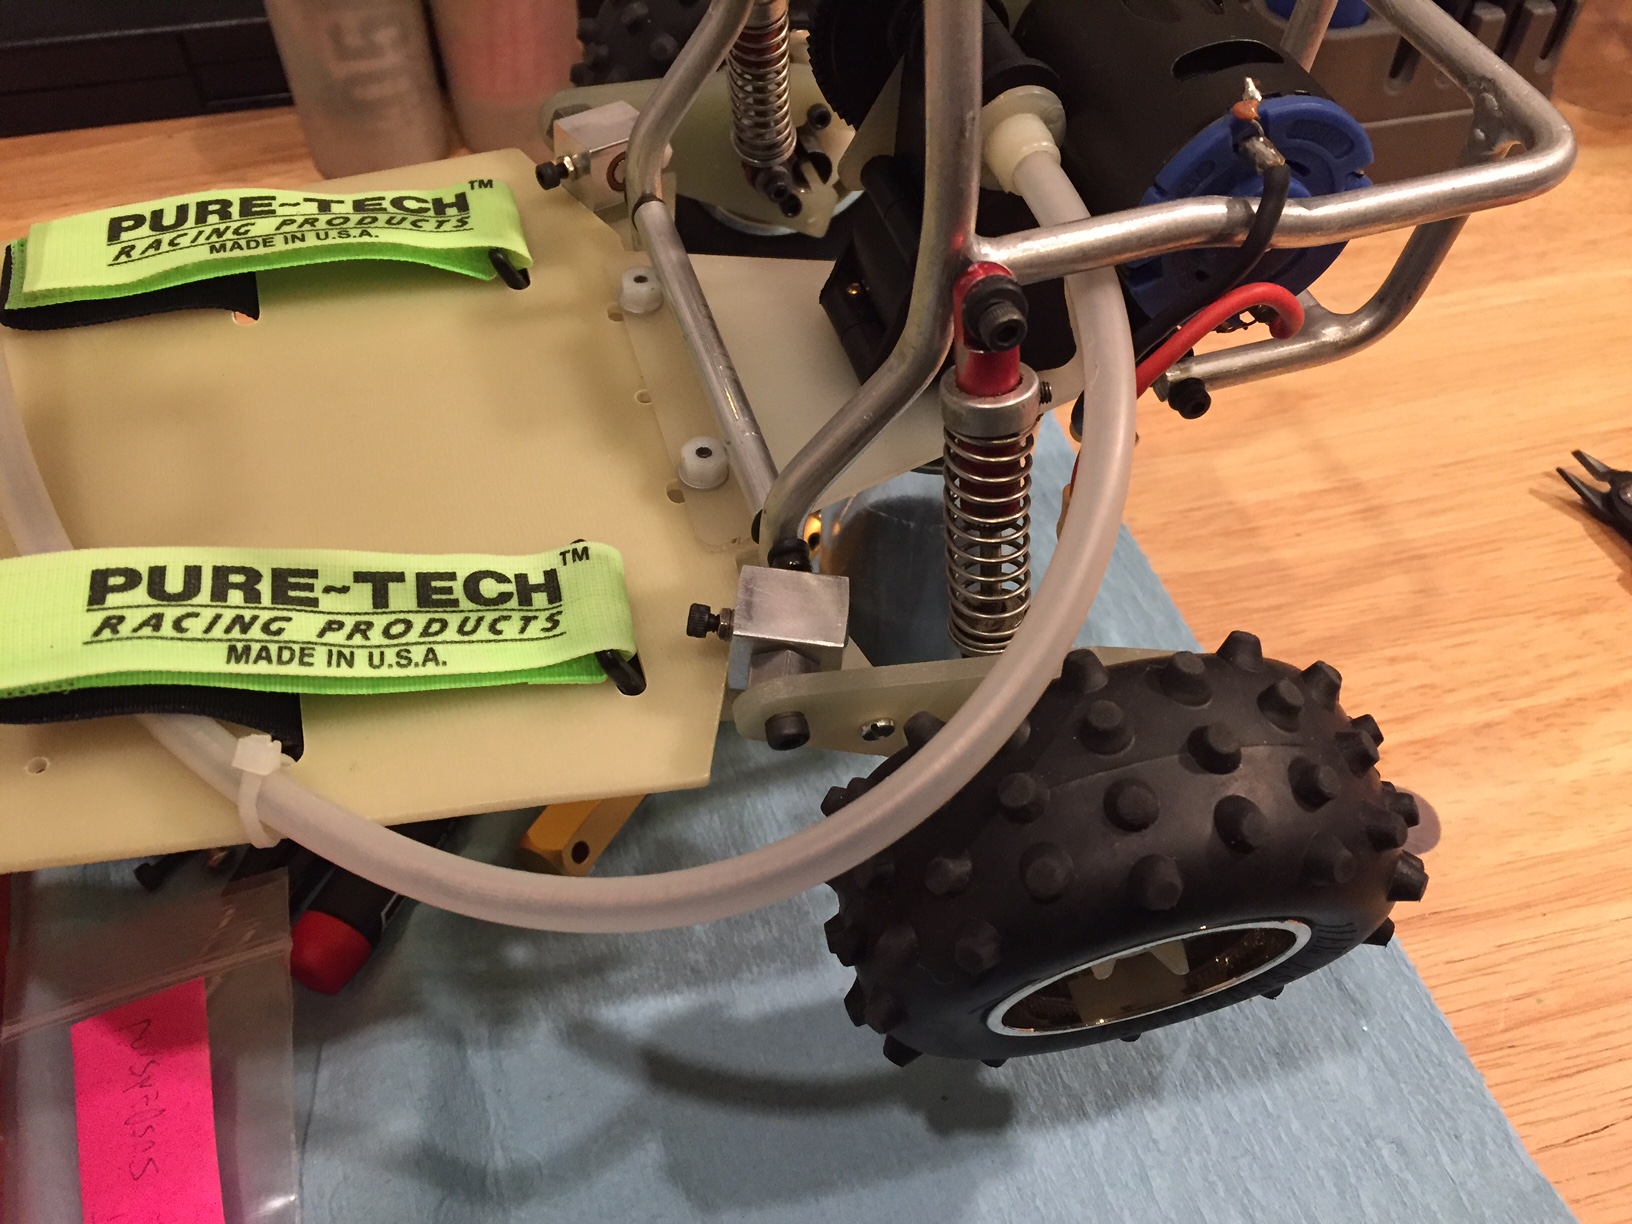
Feb 22nd 2016, two steps forward, etc:

================================================
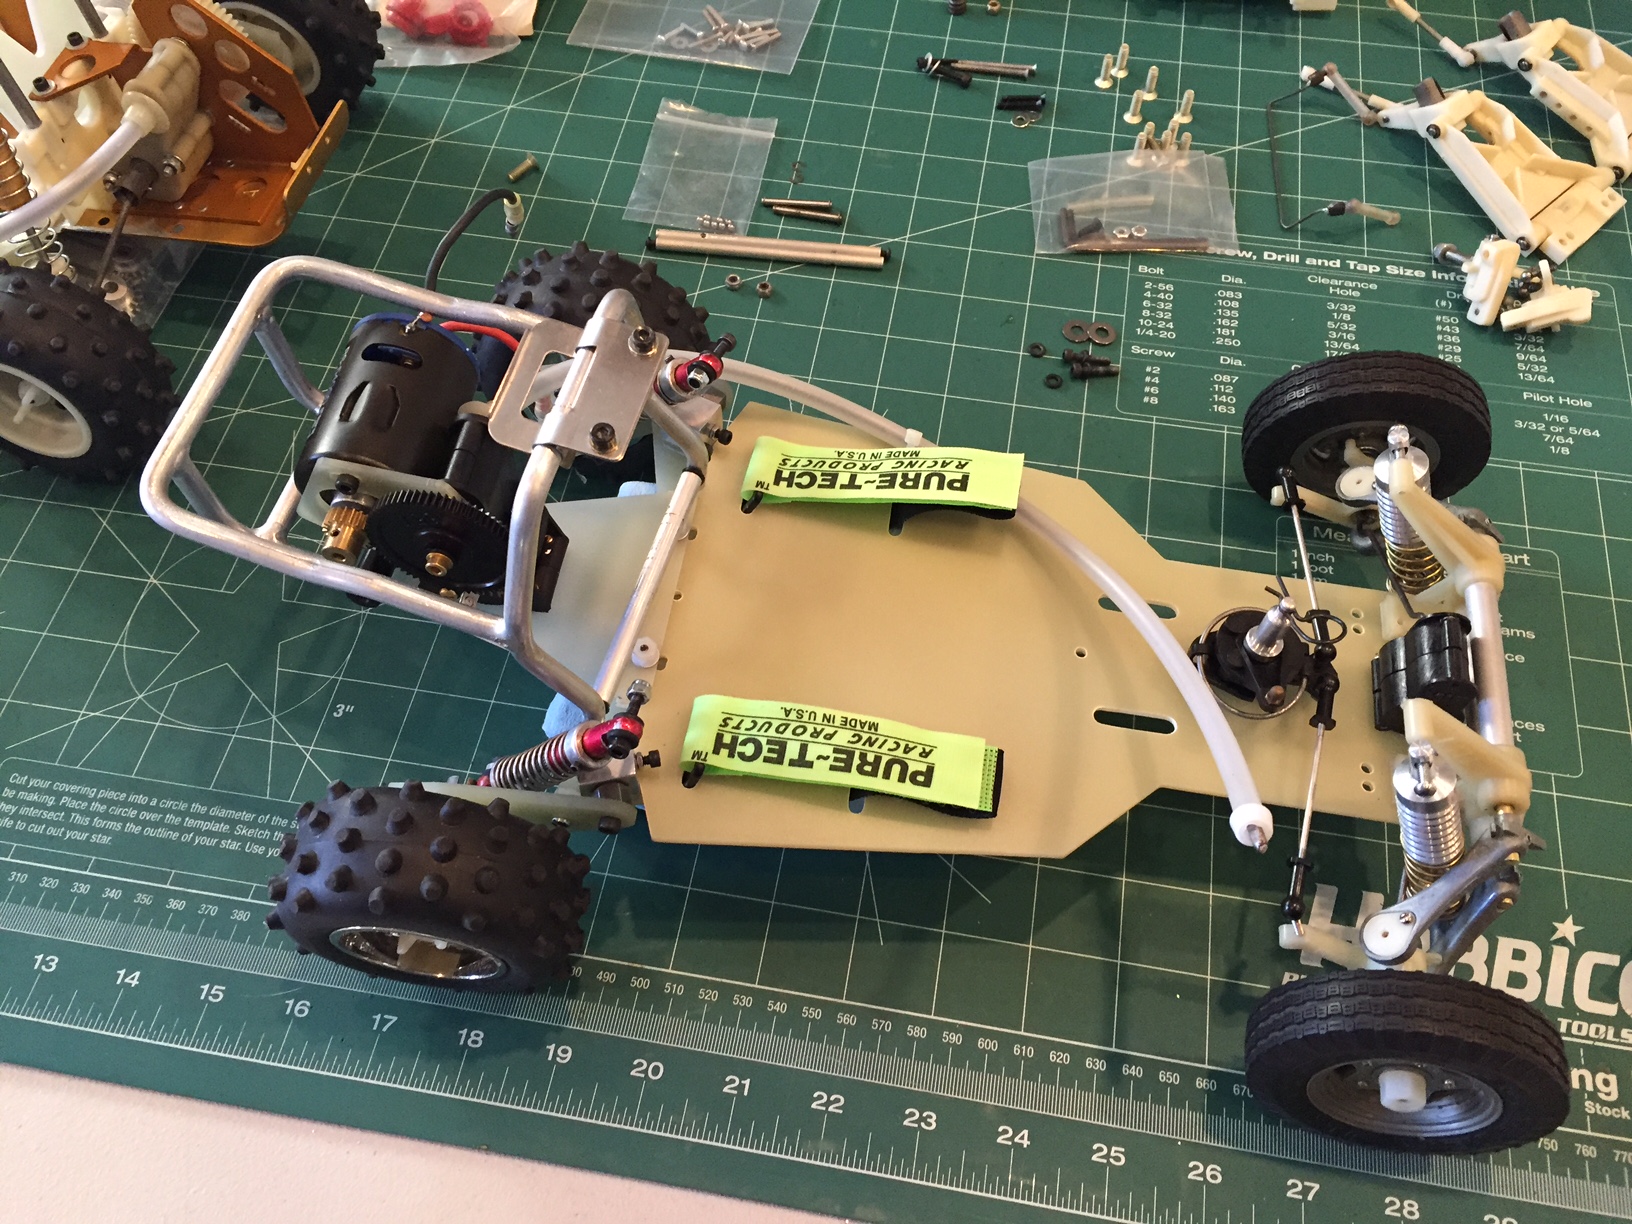
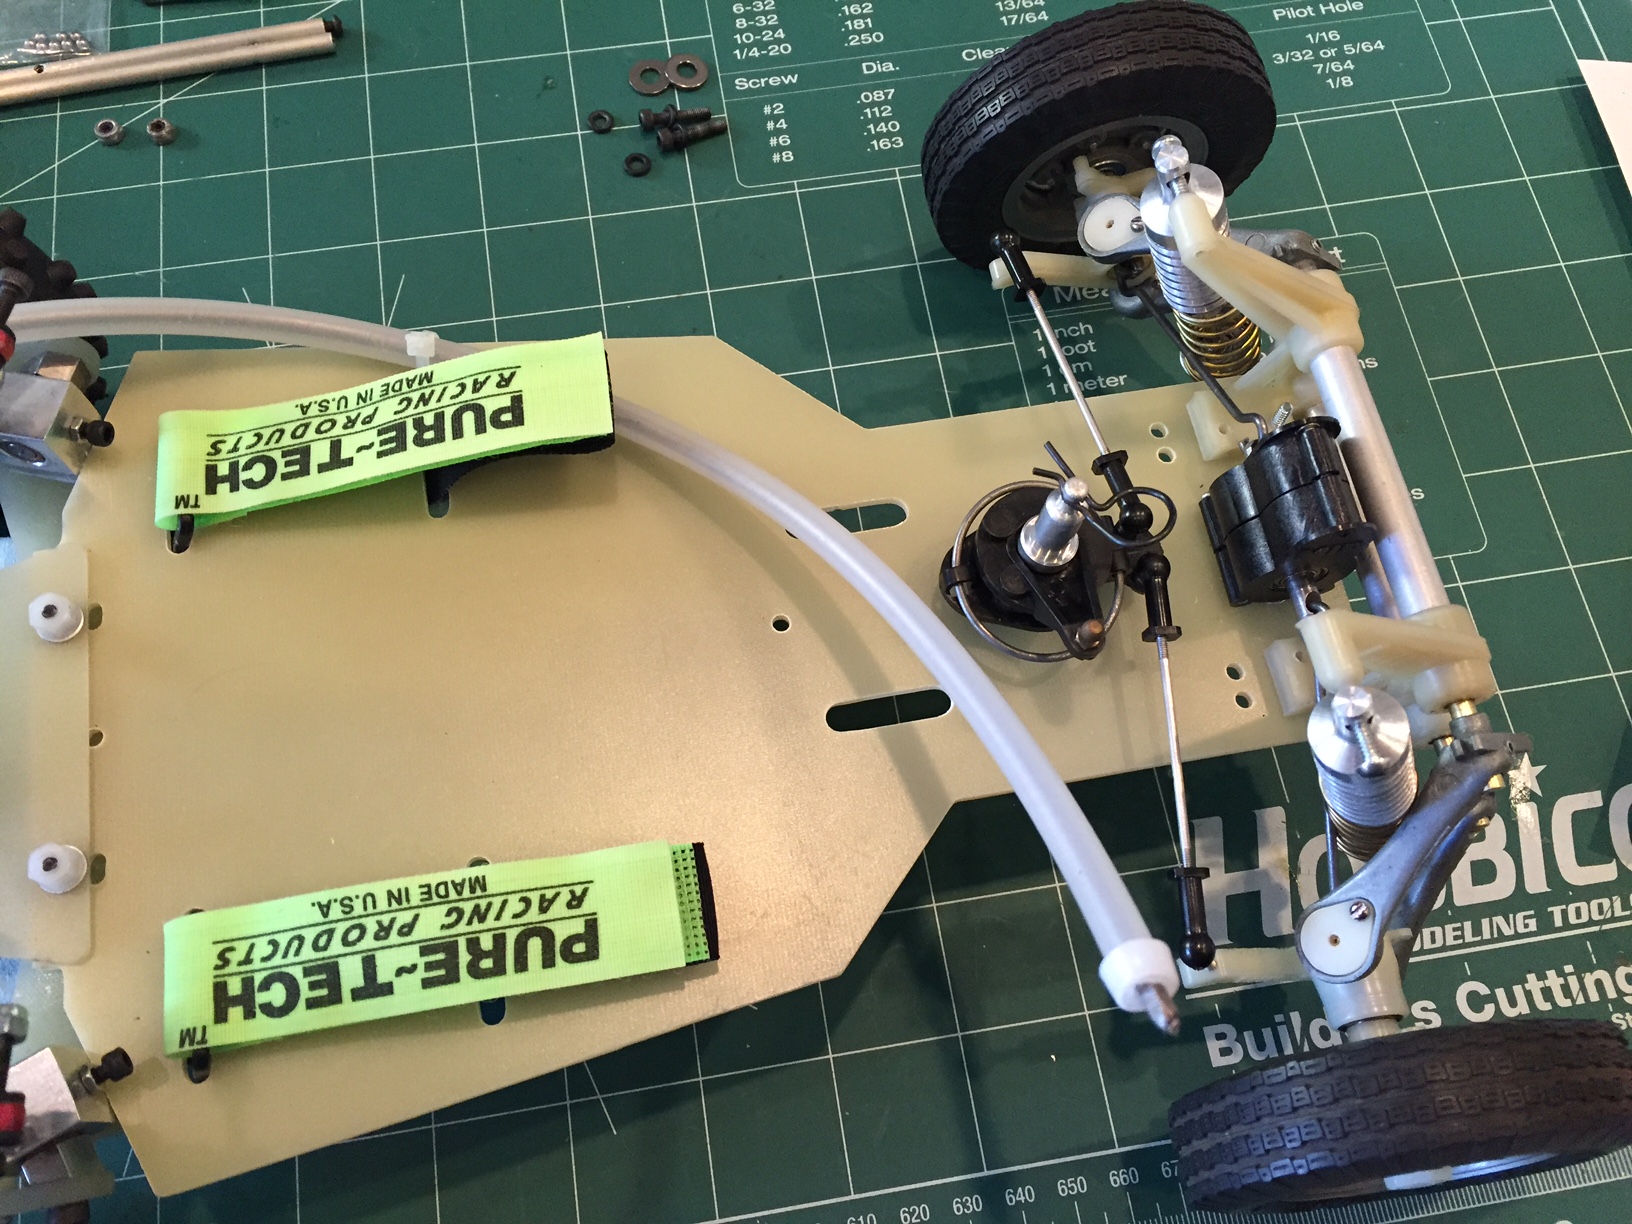
Pics above show the swapped out chassis from stock Tamiya SRB to a repro butterfly chassis.
March 2017, the "rebuild" remaining To Do:
The major changes made to the previous set up March 2017:
(need to add some pictures)
still remaining to do list:
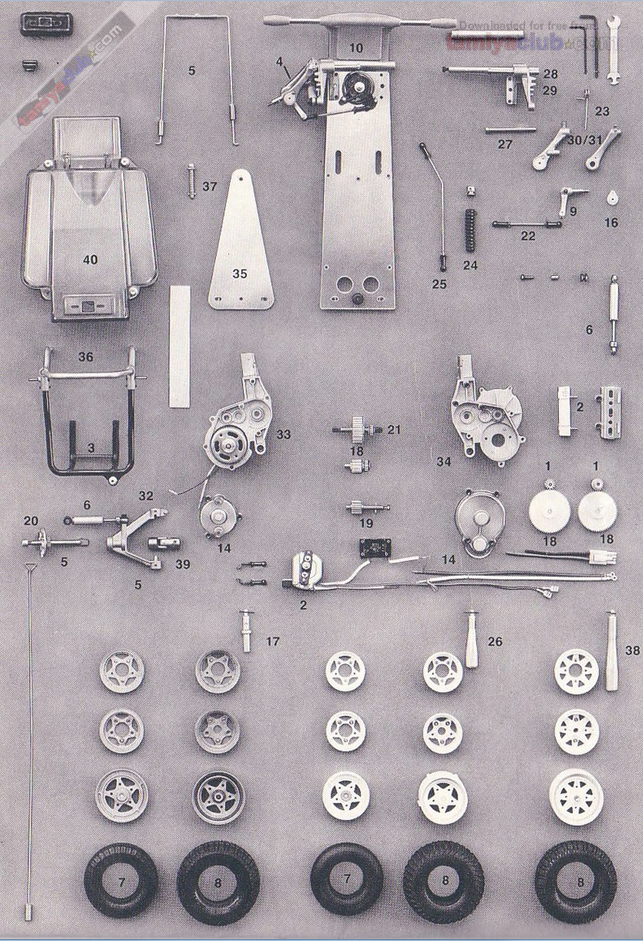
Reference photo:
German distributor(?) exploded parts view of SRB's